

Overview
FossID Workbench can be configured to use OAuth2 for authentication.
Currently supported providers are: Microsoft Entra ID, Gitlab, Okta and Microsoft Active Directory Federation Service(AD FS).
Configuring FossID
Please note that before Workbench 23.3 parameters “webapp_oauth2_login” and “webapp_oauth2_fallback_local_login” were called “webapp_microsoft_oauth2_login” and respectively, “webapp_microsoft_oauth2_fallback_local_login”.
These parameters should be properly renamed when upgrading to version 23.3 from a previous version. Also, 2 new parameters were added: “webapp_oauth2_provider” and “webapp_oauth2_domain”.
OAuth2 authentication can be set up using the following options in the fossid.conf file:
Enable OAuth2 sign in:
webapp_oauth2_login=1
Specify only one value from the currently supported providers: Microsoft, Gitlab, Okta, Microsoft_ADFS
webapp_oauth2_provider="Microsoft"
Set the text displayed in Workbench when signing in using OAuth2:
webapp_oauth2_displayed_text="Login using Oauth2"
Application (client) ID:
webapp_oauth2_client_id=""
Application (client) secret:
webapp_oauth2_secret=""
Directory (tenant) ID (only for Microsoft Entra):
webapp_oauth2_tenant=""
The redirect_uri, where authentication responses can be sent and received by your app. This MUST be an https address:
webapp_oauth2_redirect_uri="https://fossidwebapp.mycompany.com/index.php"
Domain for identity provider, eg. Okta/Gitlab/AD FS domain.
For using Okta custom authorization server id, this should be of format: https://yourOktaDomain/oauth2/authServerId
For Microsoft AD FS this needs to be the URL of the AD FS server, of format: https://adfs.fossidtest.local/adfs/
webapp_oauth2_domain=""
Allow Manual Login
webapp_oauth2_fallback_local_login=0
Text displayed to user in Workbench when signing in with Manual Login
webapp_oauth2_fallback_local_login_text="Manual login"
Assigning an OAuth2 user as FossID Workbench admin
It is recommended that the following steps are taken to assign FossID Workbench admin permissions to an OAuth2 user if OAuth2 is going to be used as the authentication method:
- Set up the Workbench as normal (with OAuth2 disabled) and make sure that its possible to log in with the default ‘fossid’ user.
- Enable OAuth2 (by modifying fossid.conf) and log in with a user from Azure AD. This user will now be created in the FossID Workbench.
- Disable OAuth2 (by modifying fossid.conf).
- Log in to the Workbench using the default ‘fossid’ user (using password).
- Assign Workbench admin role/permissions to the OAuth2 user that was automatically created in step 2.
- Enable OAuth2 (by modifying fossid.conf). The OAuth2 user can now log in to the Workbench with admin permissions.
Configuring Okta application
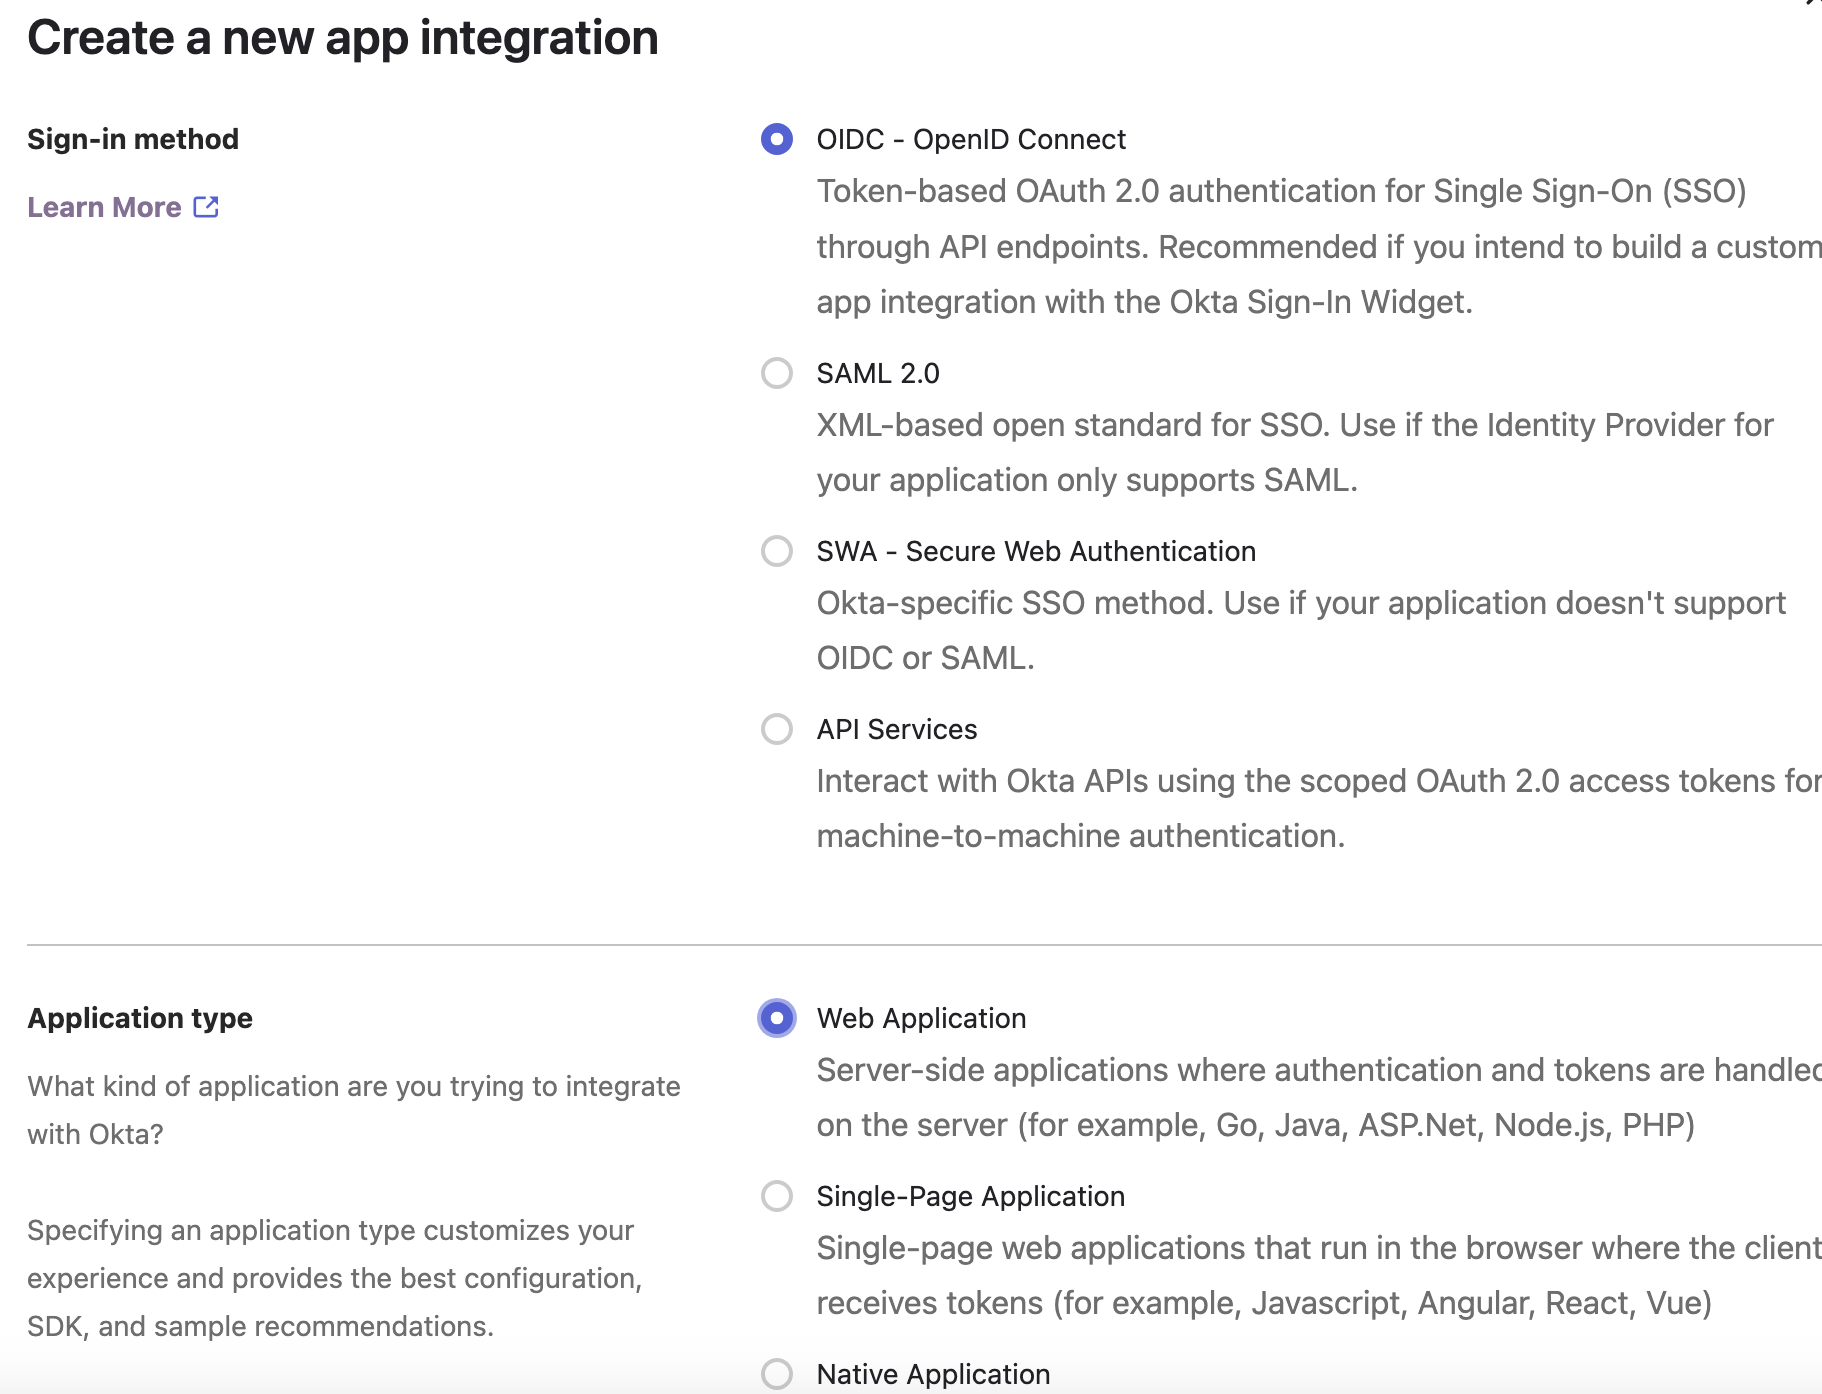
From Okta admin create a new app integration with Sign-in method “OIDC-OpenID Connect”, and type “Web application”.
Use Grant type “Authorization code” and copy the value of “webapp_oauth2_redirect_uri” parameter in the Redirect URI:
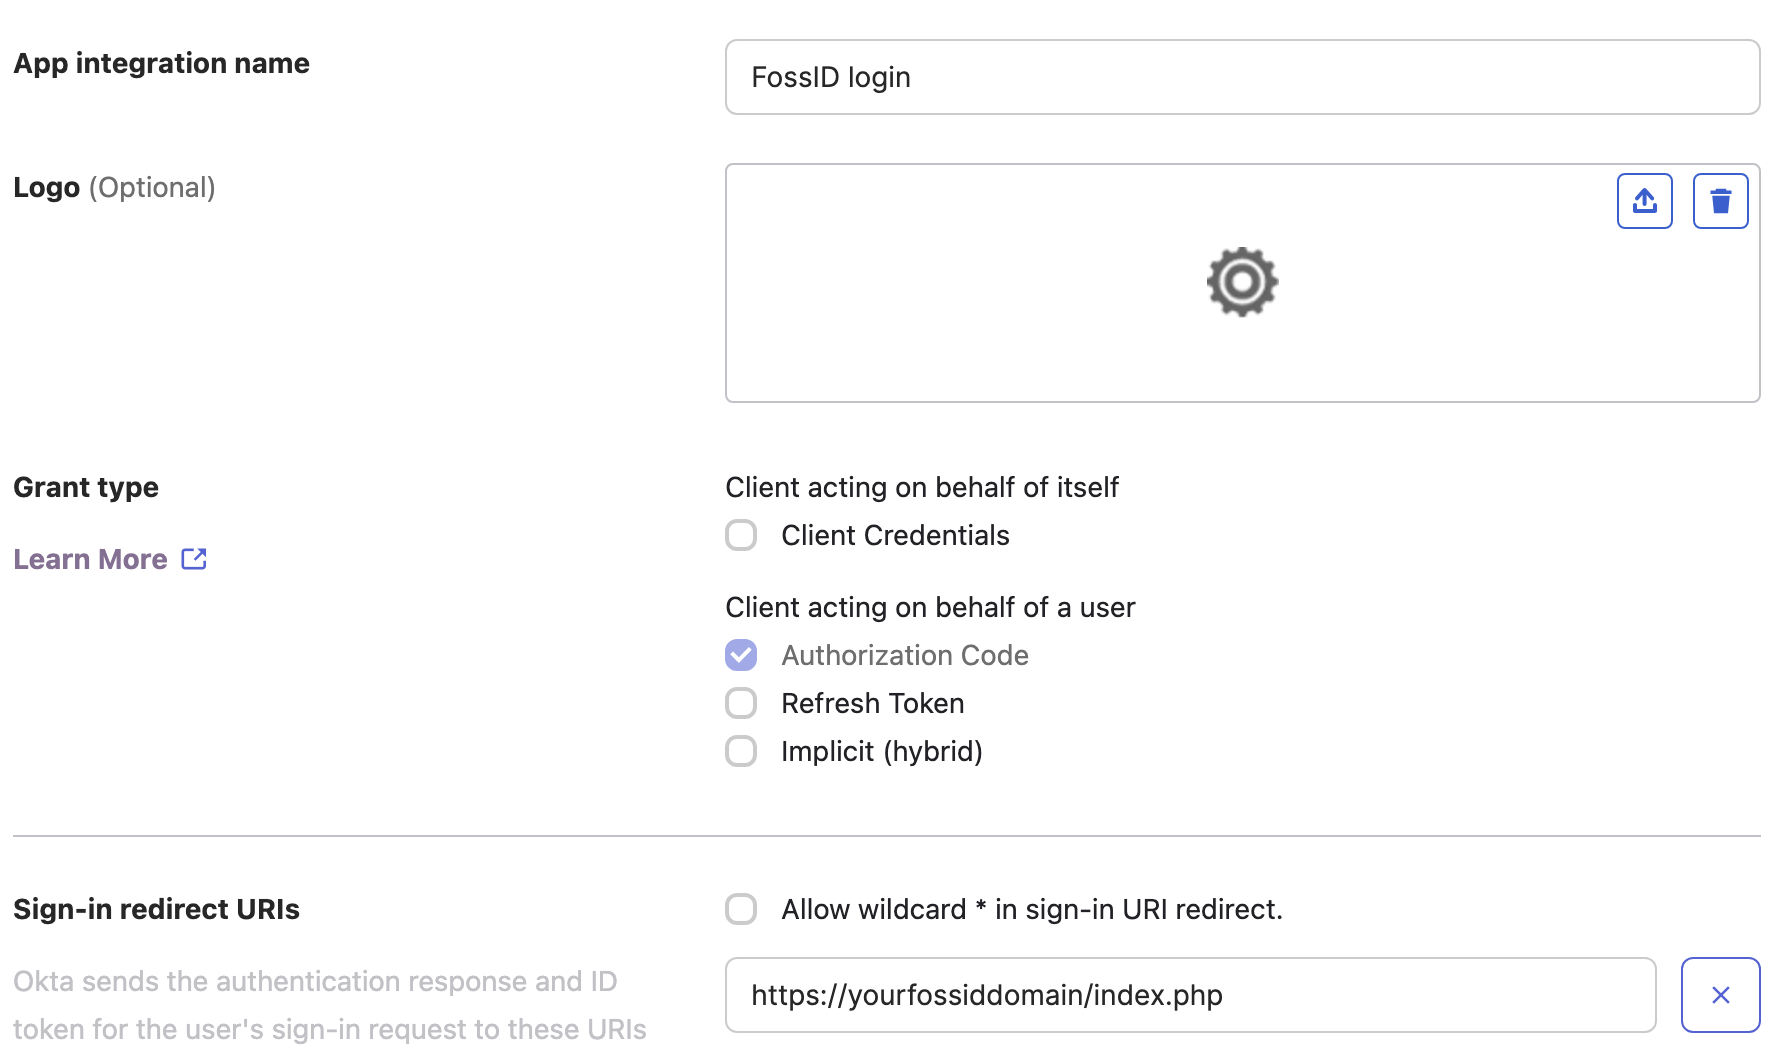
After saving the application, copy the Client ID and Client Secret values to the matching fossid.conf parameters.
Configuring Gitlab application
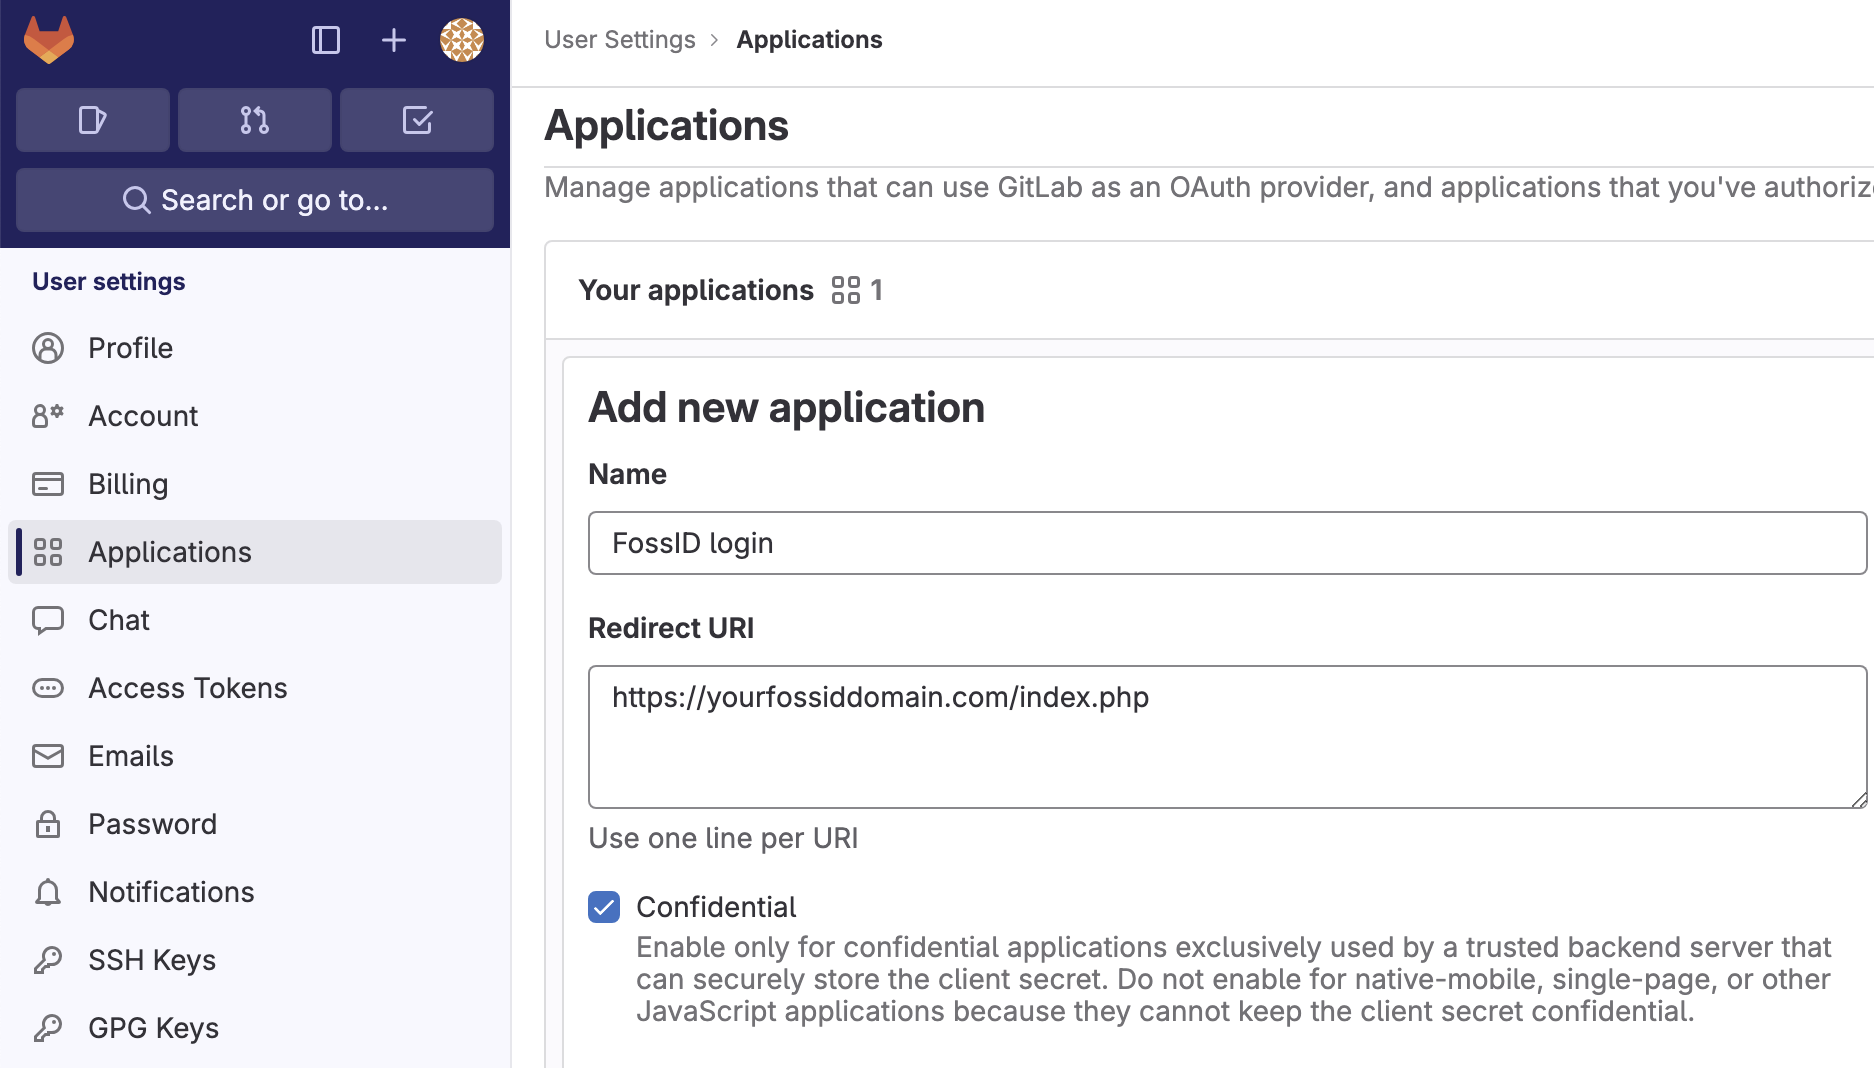
From Gitlab user -> Preferences -> Applications -> Add new Application. Copy the value of “webapp_oauth2_redirect_uri” in the Redirect URI:
Grant “openid” and “email” read permissions to the new app.
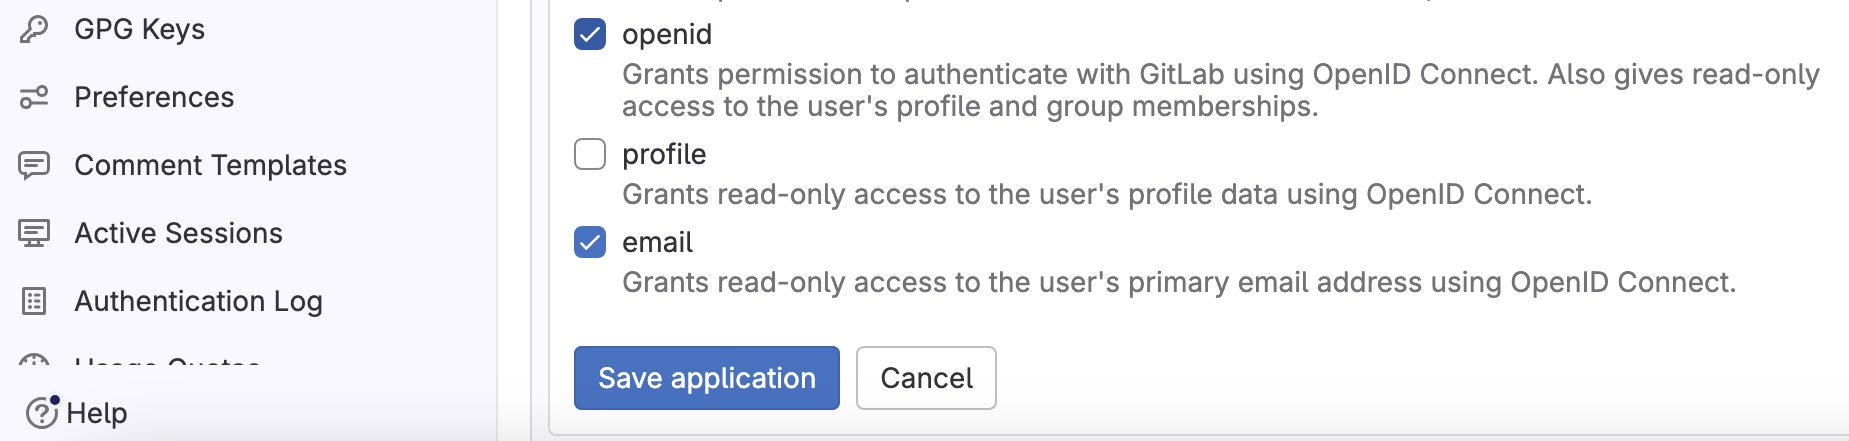
After saving the application, copy the Client ID and Client Secret values to the matching fossid.conf parameters.
Configuring AD FS application
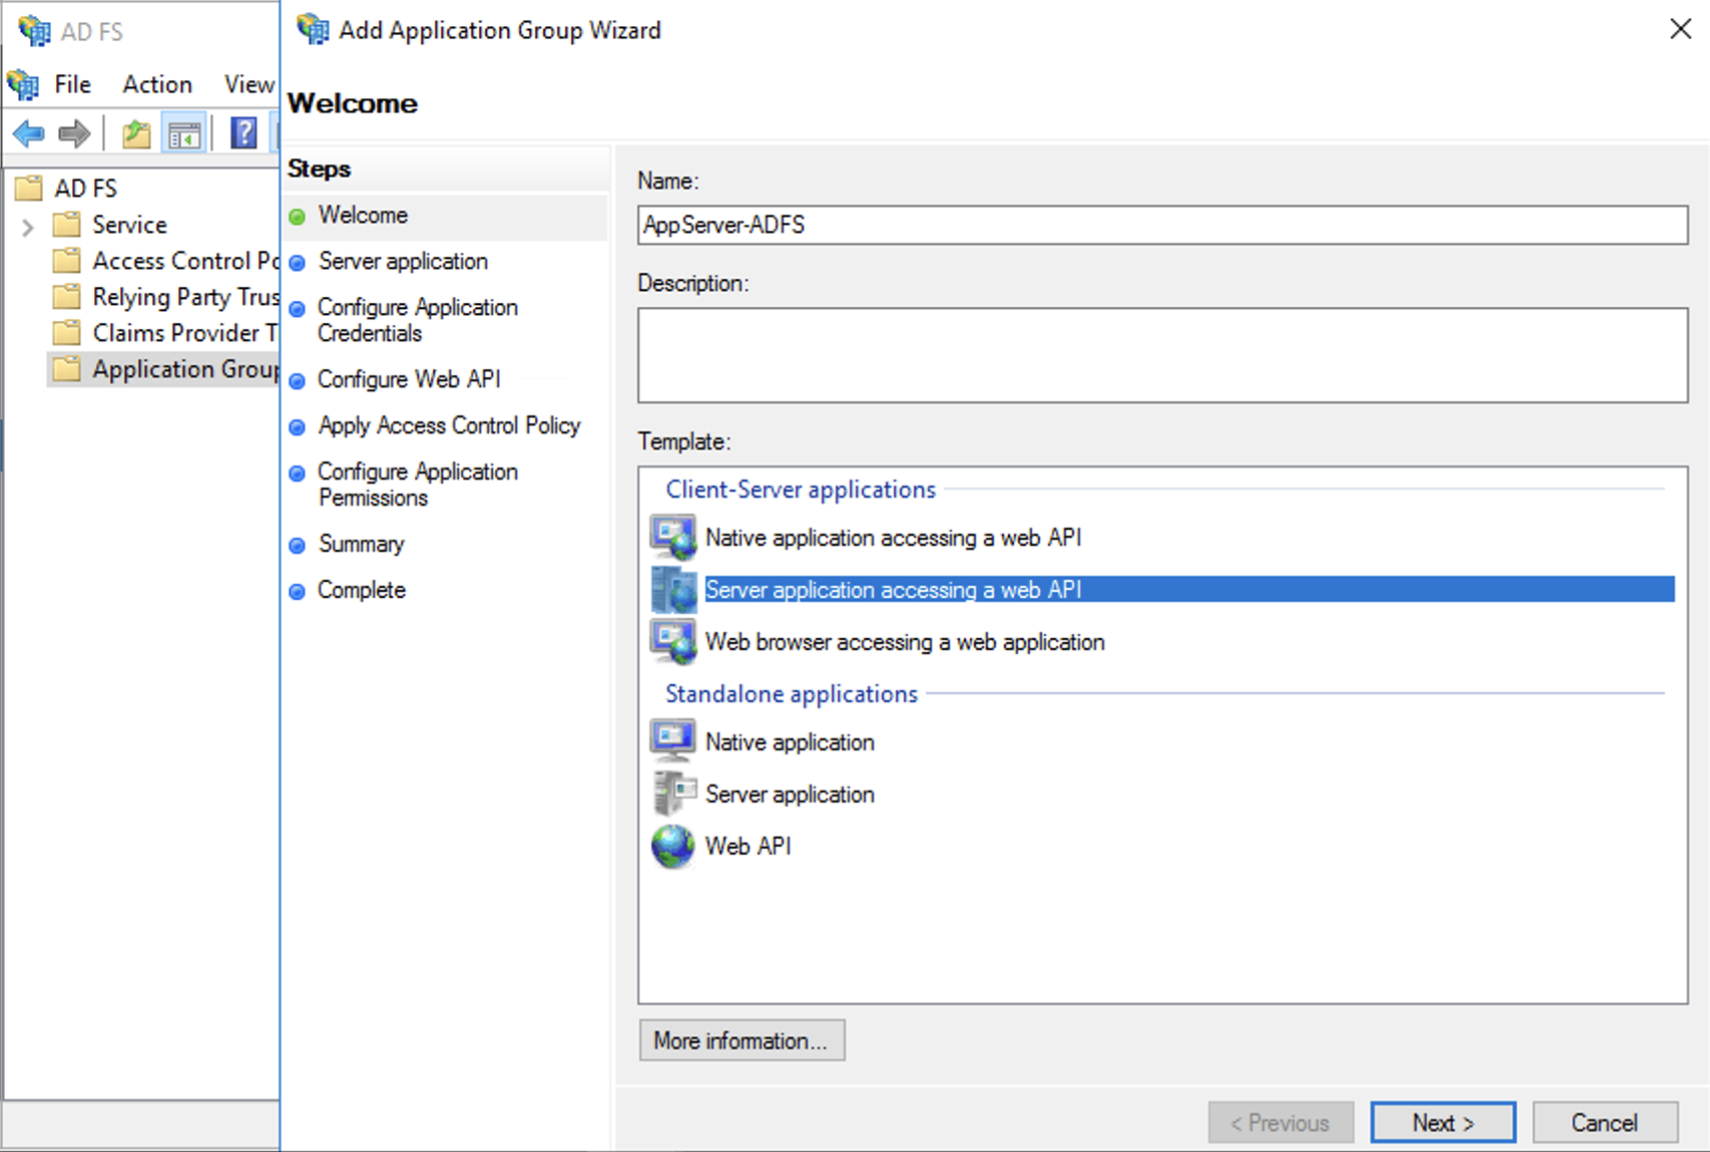
Creating the Application Group
Connect to the AD FS Server, AD FS Management GUI, right click Application Groups -> Add Application Group. Give a name to the application, like “AppServer-ADFS” and select template “Server application accessing a web API”. Press Next.
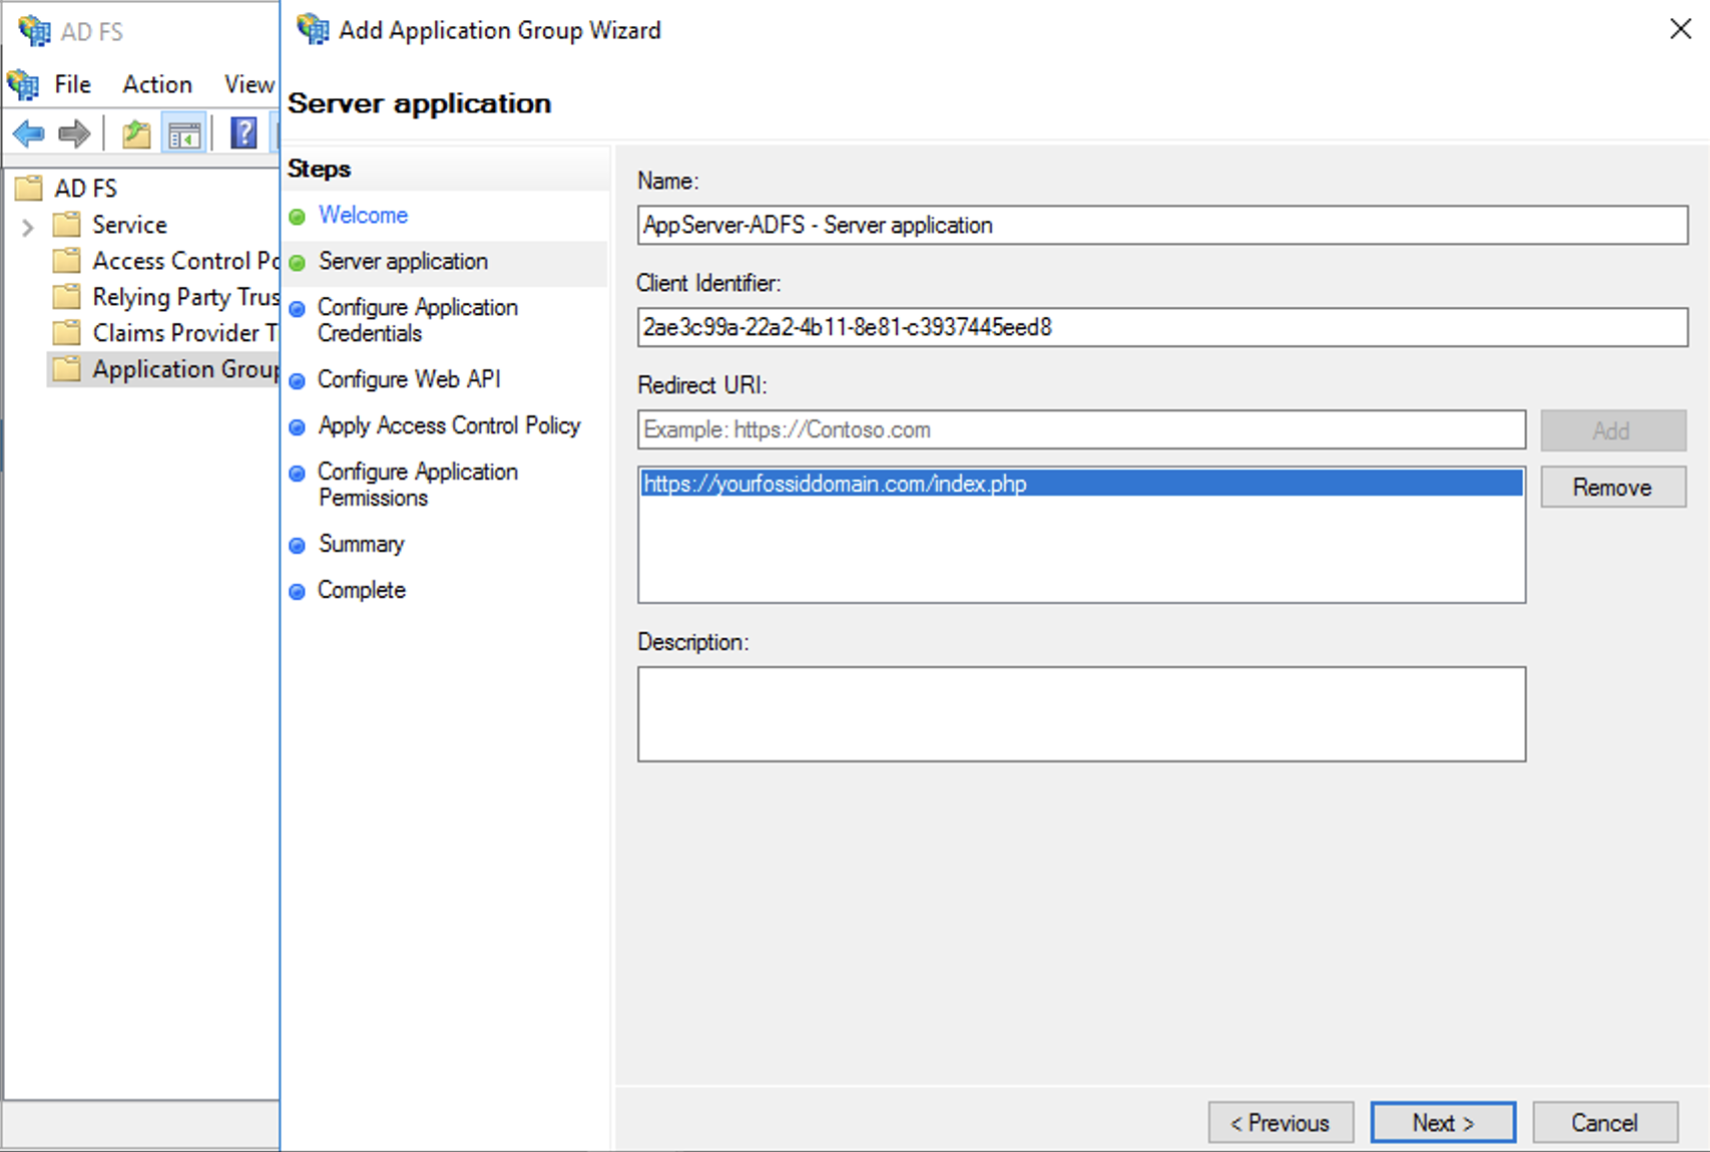
Creating the Server Application
Give a name to the application. In the “Redirect URI” option enter the Workbench installation URL, followed by index.php. Copy the “Client Identifier” value for later use.
Click Next, and in this screen choose “Generate a shared secret”. Copy the “Secret” value for later use.
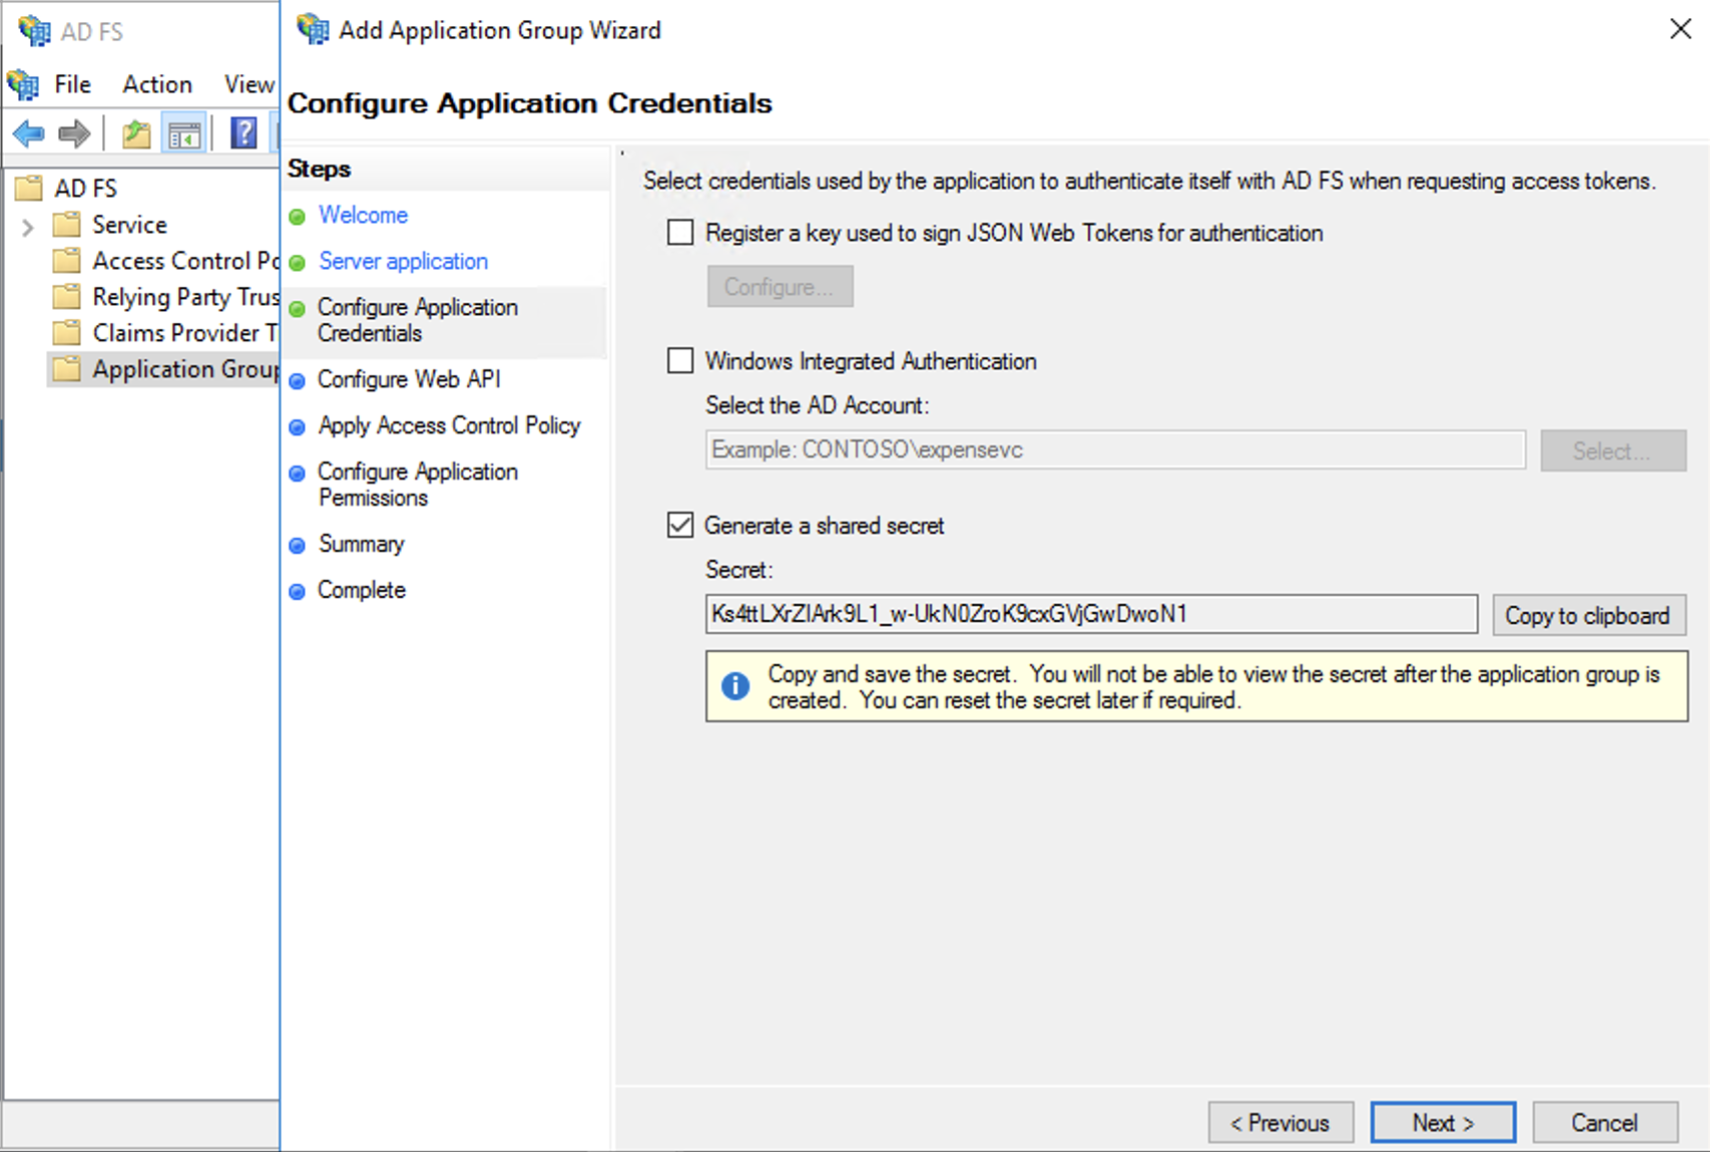
Press Next.
Creating the Web API
Give a name to the Web API, and paste here the value of “Client Identifier” copied in a previous step.

Press Next.
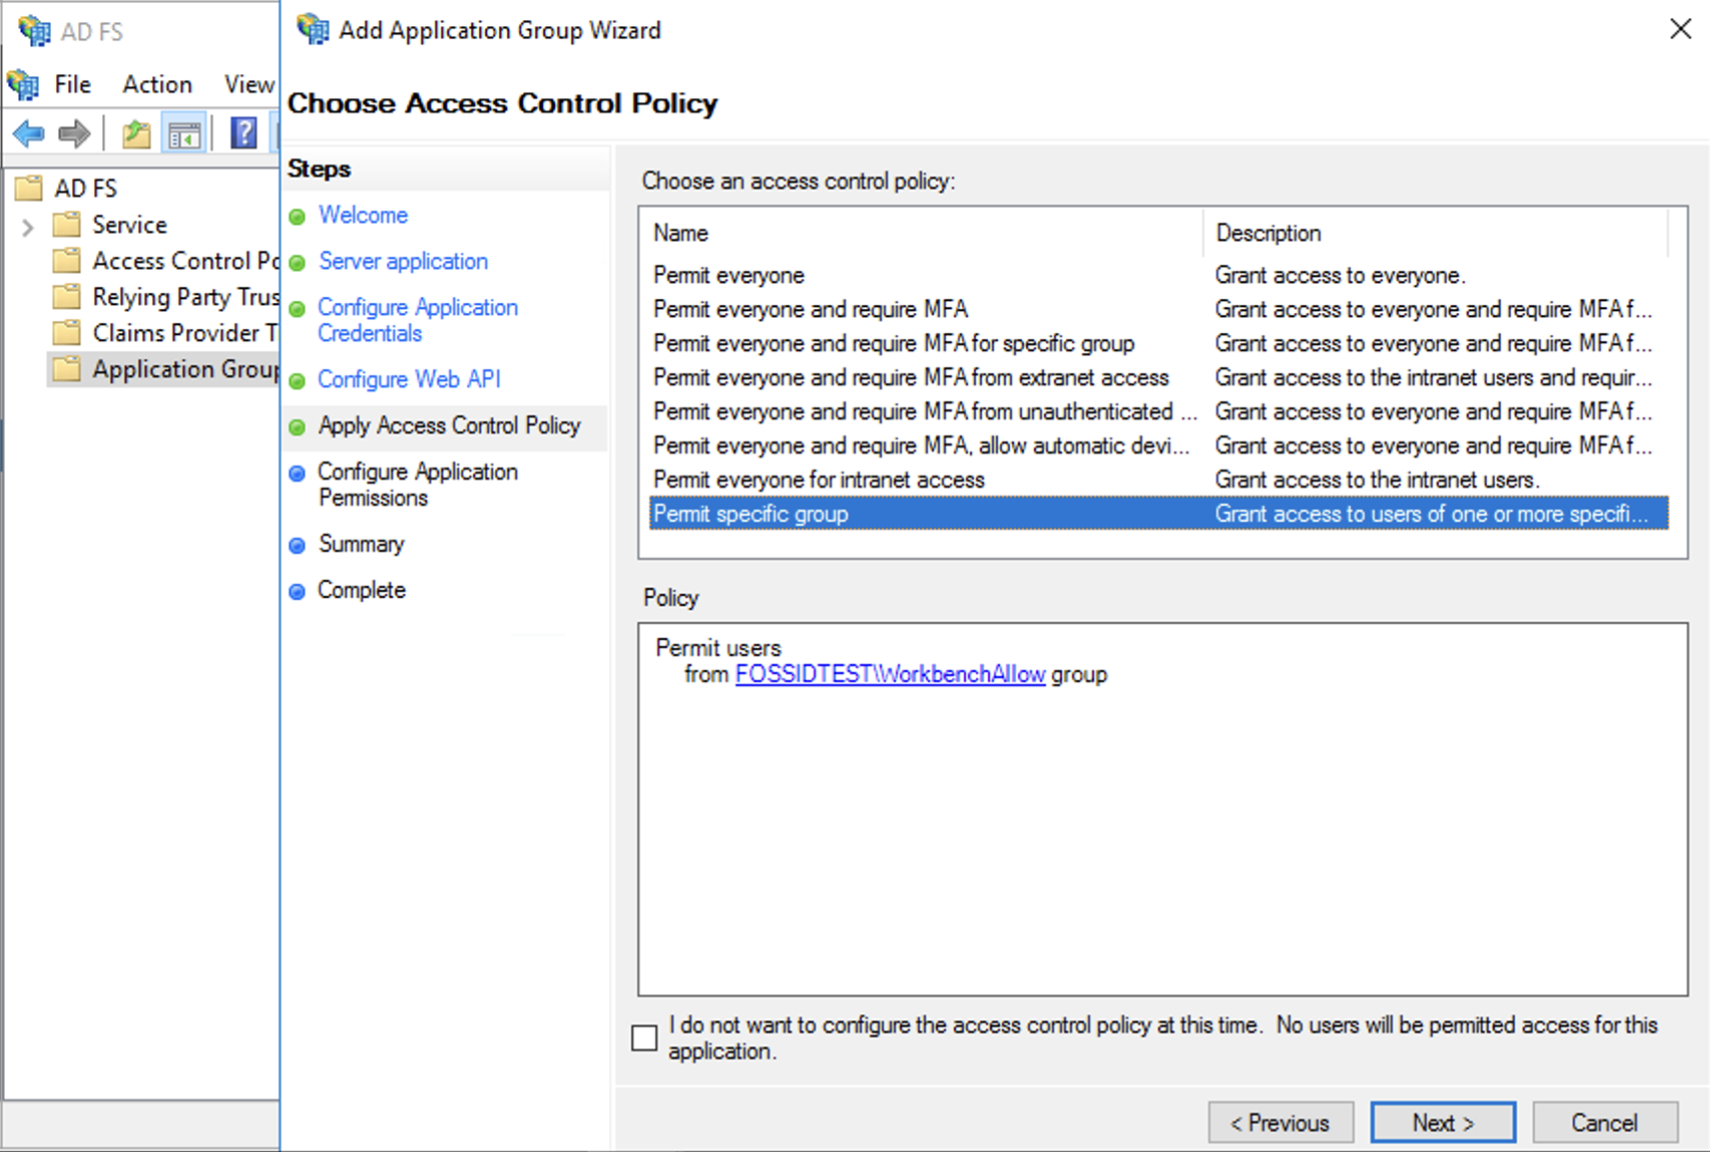
Configuring Web API access control policy
All users in the domain can be allowed to login to Workbench with AD FS, or only a particular group. For allowing access to only a particular group, create a Security Group containing all desired users and add it to the application in this step.
In the step “Configure Application permissions” select “allatclaims” and “openid”.
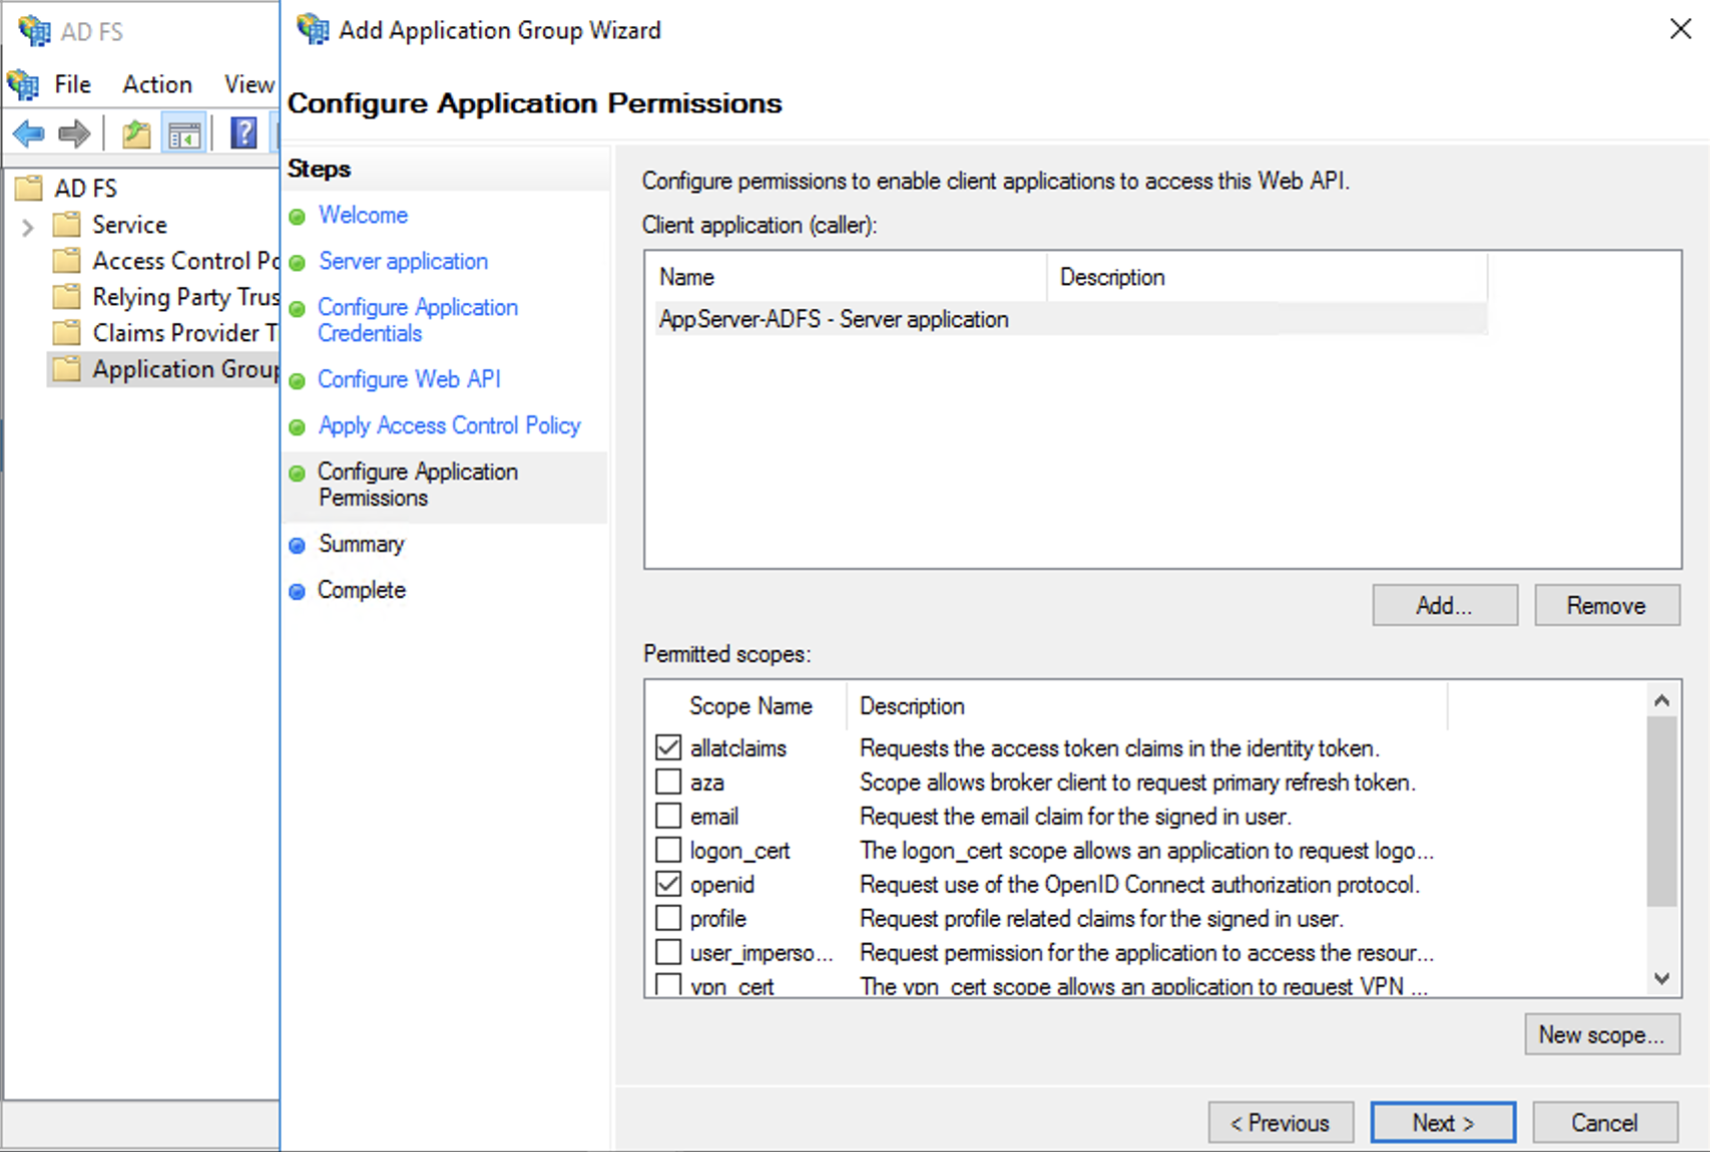
Save the application.
There is a problem with AD FS permissions, because selecting “profile” and “email” in the permissions window does not return in the JWT Token information about the name/email of the user trying to login, fields which are needed in order to populate the mandatory fields in FossID user profile (from these, most important would be the “Email” field otherwise the user will not receive emails from FossID).
So, to obtain these fields custom claims need to be added.
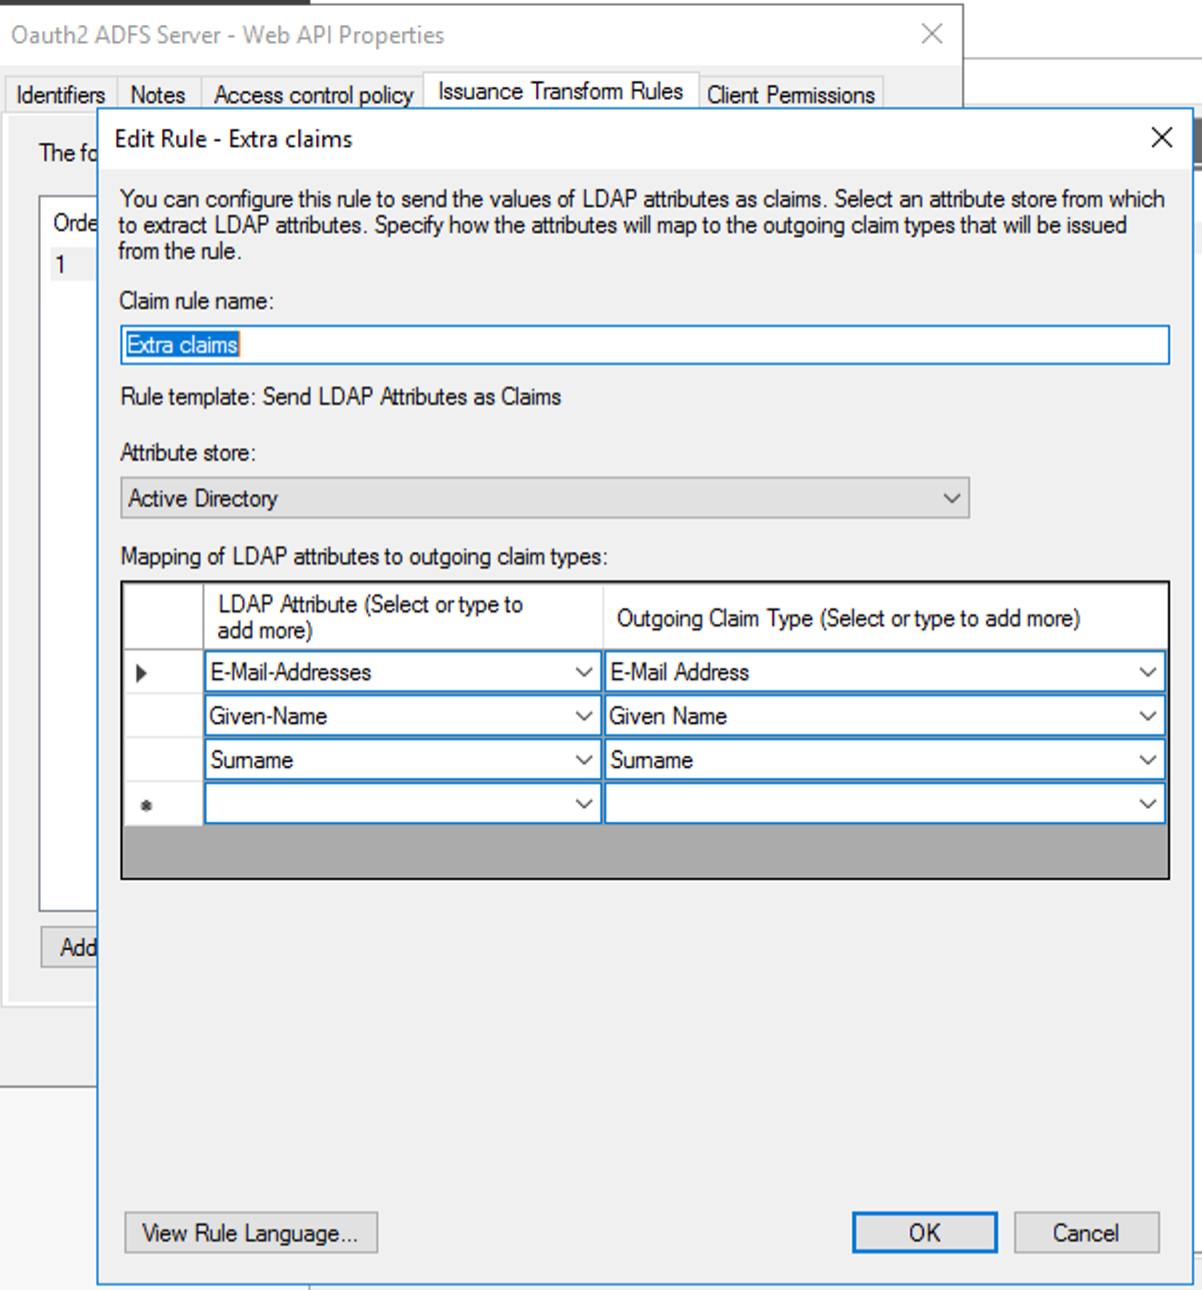
To add these custom claims, double-click the previoulsy created application, Edit the “Web API” application and click on “Issuance Transform Rules”:
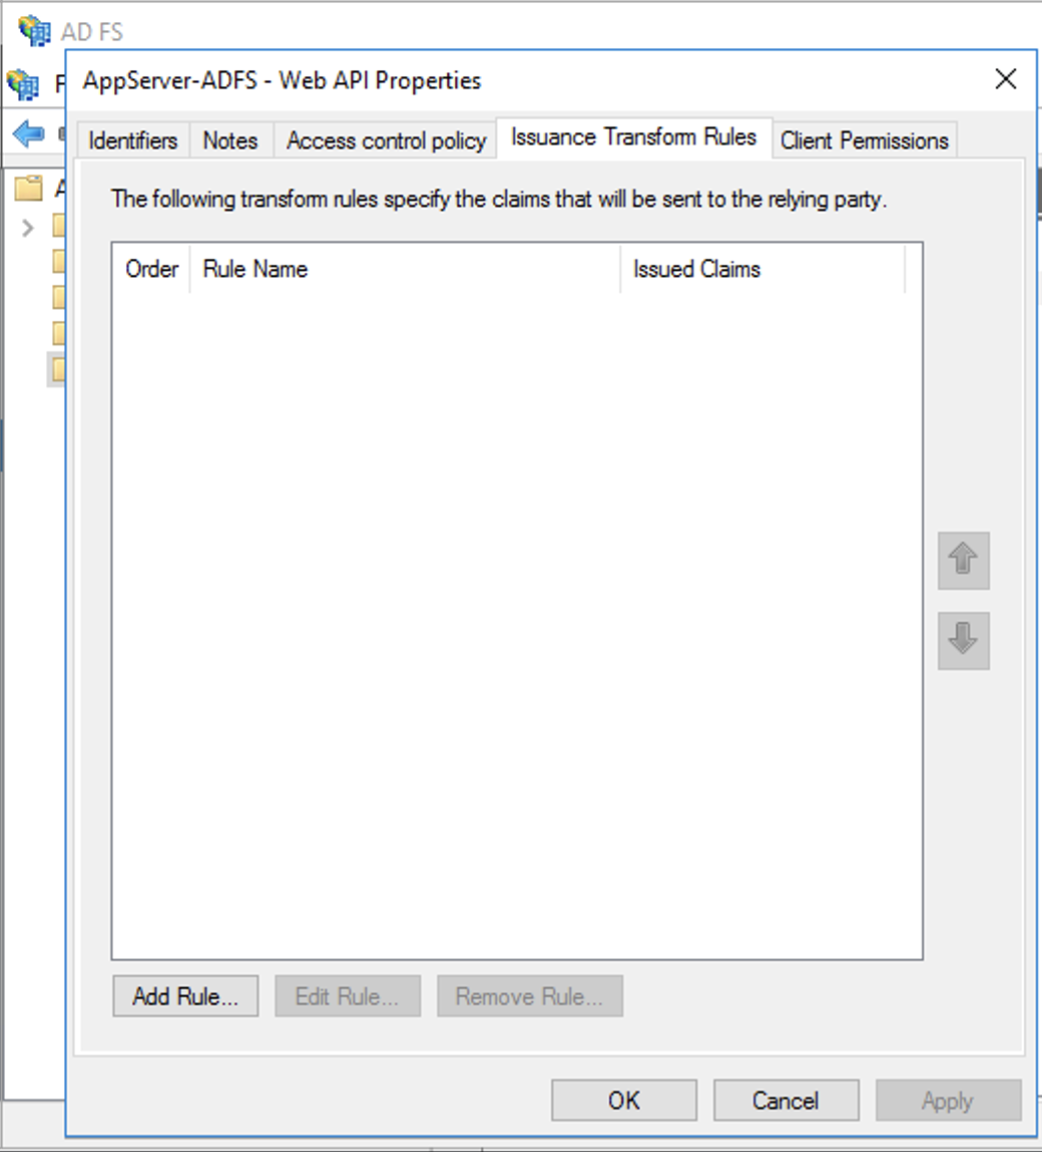
And add some extra claims for email, given name and surname, and Save the application again.
Workbench setup with AD FS
In fossid.conf file the following parameters need to be set:
webapp_oauth2_login=1
webapp_oauth2_provider=”Microsoft_ADFS”
webapp_oauth2_client_id=”The value of Client Identifier previously saved from ADFS”
webapp_oauth2_secret=”The value of Secret previously saved from ADFS”
webapp_oauth2_tenant=”” - the concept of tenant is for OAuth2 in Azure, it is empty in this case
webapp_oauth2_domain=”https://adfs.fossidtest.local/adfs/” - URL of the ADFS server
webapp_oauth2_redirect_uri=”https://yourfossiddomain.com/index.php” - This needs to match exactly what was entered in “Redirect URI” option when creating the ADFS side application. If the Workbench installation URL changes at some point then its value needs to be updated both in fossid.conf and in the ADFS app.
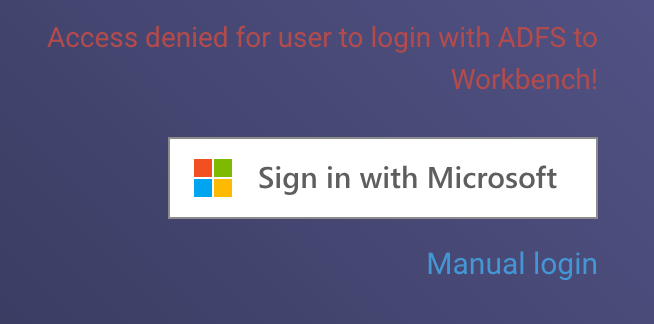
Note: If a user not belonging to the group that is allowed access tries to login with ADFS to Workbench, after they login in ADFS they will be redirected back to the login page of Workbench with this error message:
In order to restart the login flow with another user, this user needs to logout from ADFS directly (the URL should be of the form “https://adfs.fossidtest.local/adfs/ls/idpinitiatedsignon”) before trying to Login again from FossID Workbench.