

Overview
FossID Workbench supports provisioning users via an SCIM source. Currently only integration with Microsoft Entra ID is tested and documented. (SCIM with Microsoft)
Configuring FossID
In fossid.conf file:
Enable SCIM provisioning (please note that setting “webapp_scim_enabled” to 1 disables the automatic user creation following a user logging into Workbench with a Microsoft account via Oauth2):
webapp_scim_enabled=1
The “webapp_scim_api_token” is a string that needs to be generated and is used to authenticate requests on SCIM API endpoints. It is recommended to use characters matching [-a-zA-Z0-9._~+/]+=* and keep token value between “”
webapp_scim_api_token=""
All requests to SCIM should be sent on path
In nginx.conf file there should be a rule for redirecting requests to the /scim/ path.
#url like /scim/Users is redirected to index.php
location ~ /scim/[a-zA-Z0-9_] {
    rewrite (.*)/scim/[a-zA-Z0-9_] $1/index.php last;
}
Implementation details
Workbench supports requests to the /Users endpoint, as per the SCIM protocol, and methods GET, POST, PATCH and DELETE.
Supported operations:
-
Creating a User - Receiving a request on POST to the /Users endpoint tries to create a new User inside Workbench. Only the following Workbench User fields can be populated from SCIM: Username, Surname, Name, Email, and one single User role can be assigned.
-
Getting a User - 2 types of GET requests on /Users endpoint are expected:
-
/Users/ID - Will search for a Workbench User with the received ID and return a JSON populated with the user data.
-
/Users?filter=userName+eq+%Test%22 - Will search for a Workbench User with the received username and will return a JSON populated with the user data.
-
-
Updating a User - Receiving a PATCH request on /Users/ID will replace the field values sent in the request in the Workbench User entry. If the request contains information about a User role all other roles will be unassigned from the User, and only the received role will be saved.
-
Deleting a User - Receiving a DELETE request on /Users/ID will set the User field “is_deleted” to value 1 in Workbench database.
Note: There is no action that can be sent from SCIM that will hard delete a User in Workbench. Receiving PATCH request with active=false, or receiving a DELETE request will both update the User field “is_deleted” to value 1.
Example of a request payload that will create a user inside Workbench, populate fields, and assign “Licensing Officer” role to the User:
{
    "userName": "RyanL",
    "active": true,
    "displayName": "RyanL",
    "schemas": [
        "urn:ietf:params:scim:schemas:core:2.0:User"
    ],
    "name": {
        "formatted": "Ryan Leenay",
        "familyName": "Leenay",
        "givenName": "Ryan"
    },
    "emails": [
        {
            "Primary": true,
            "type": "work",
            "value": "ryan.leenay@test.com"
        }
    ],
    "roles": [
        {
            "primary":true,
            "type":"WindowsAzureActiveDirectoryRole",
            "value":"Licensing Officer"
        }
    ]
}
Configuring Microsoft Entra ID for SCIM
Creating the application for provisioning users
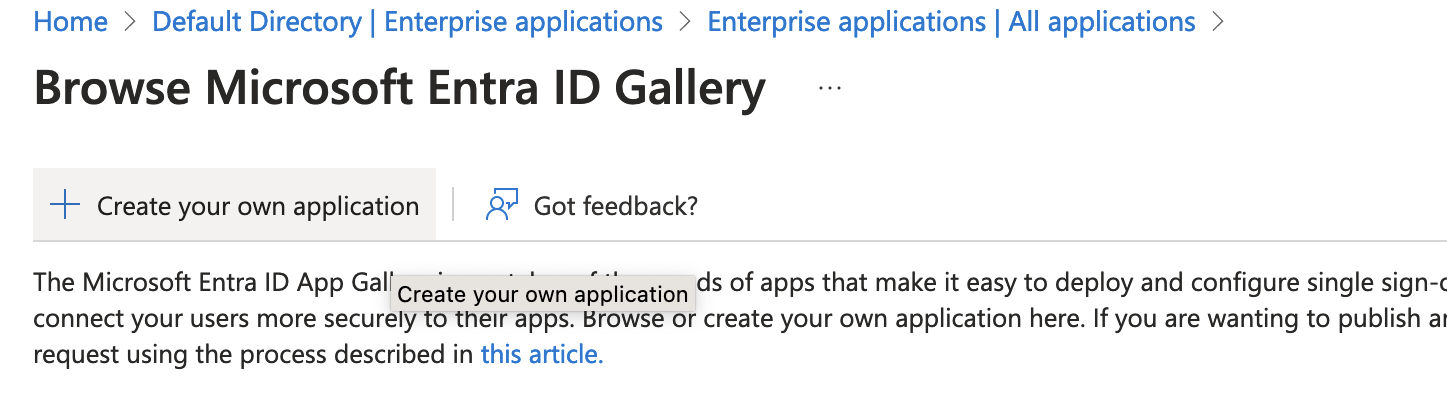
From Microsoft Azure portal -> Microsoft Entra ID -> Enterprise applications -> New application.
In the popup click button “Create your own application“
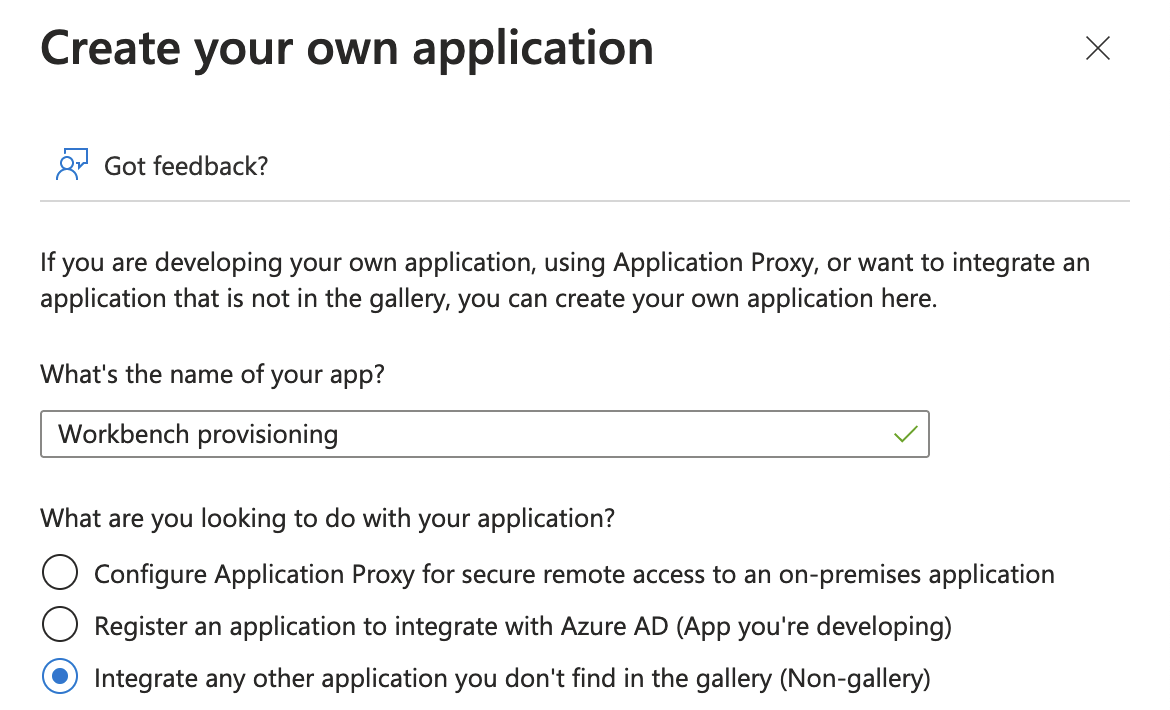
In the opened popup give a name to the application and select option to “Integrate any other application you don’t find in the gallery (Non-gallery)”:
In the newly created application’s page, select “Provision User accounts”
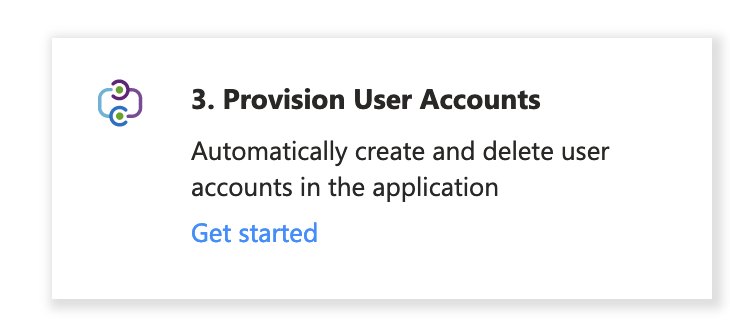
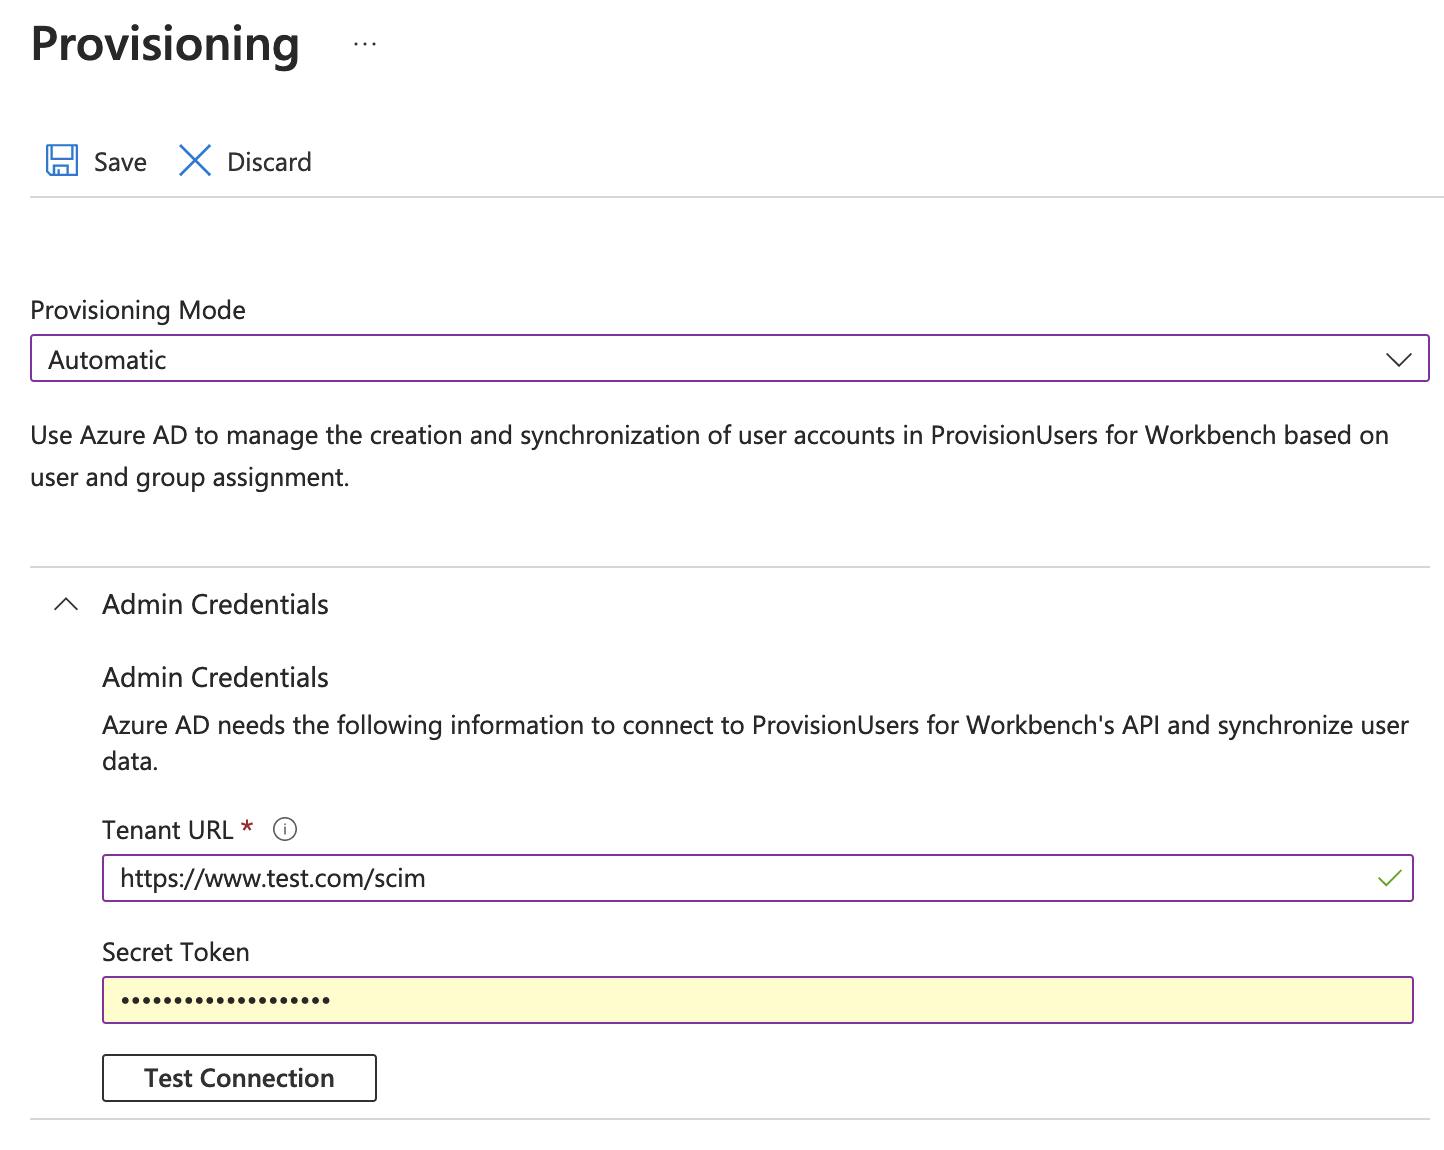
In the new page, click “Get Started”, then set “Provisioning mode” to “Automatic”.
In the Tenant URL enter the Workbench SCIM URL(eg. https://www.test.com/scim).
In the Secret Token field enter the value saved in “webapp_scim_api_token“ in fossid.conf.
Click Test Connection, and if it succeeds, Save the application.
After saving the application the page reloads and shows a Mappings entry. The Groups provisioning should be disabled because it is not implemented in Workbench. Groups of users can however be assigned to the provisioning app, Microsoft will provision all users in the group to Workbench using /Users endpoint.
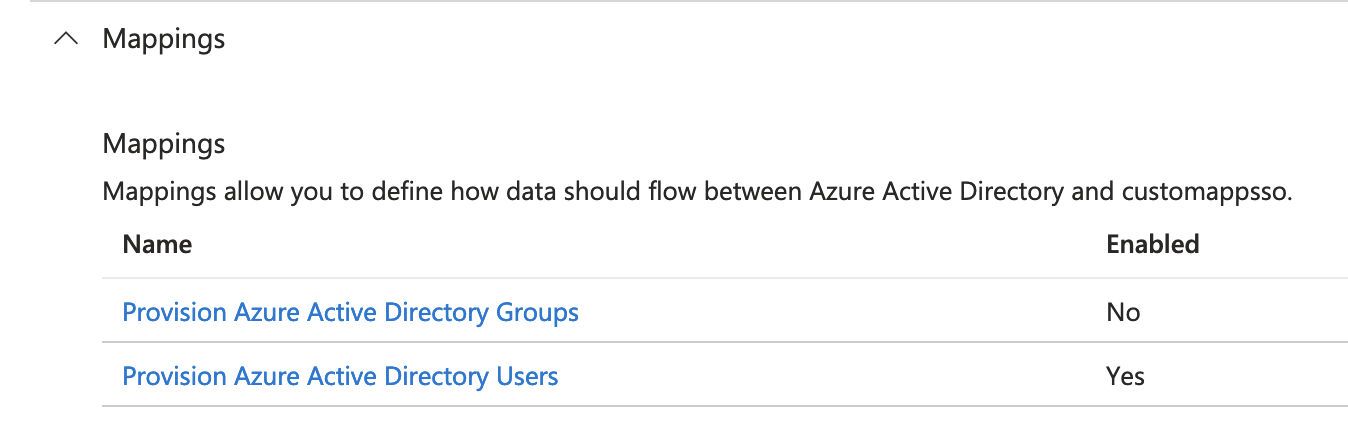
Click on “Provision Azure Active Directory Users”. Choose the desired Target Actions and strip down the Attributes Mappings list to match what Workbench expects. If User role is also desired to be sent from Microsoft, there is a need for an additional mapping, so click on Add New Mapping and follow the steps outlined to add a SingleAppRoleAssignment: Entra ID role attribute mapping
Screenshot of Attributes mapping:
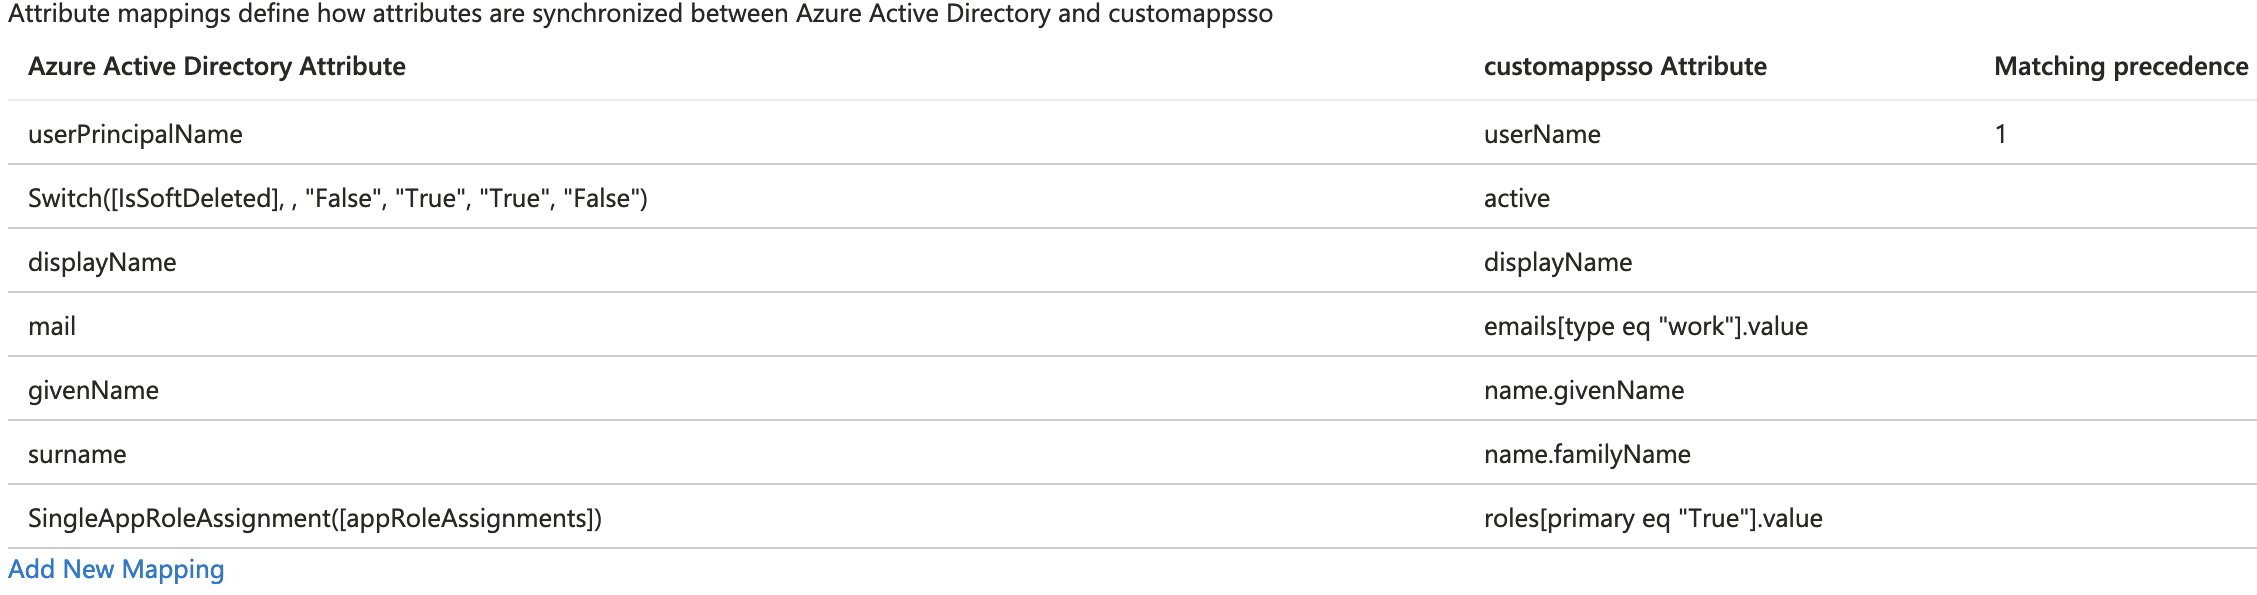
Note: userName is a mandatory field to be sent to FossID Workbench for SCIM integration. By default, it is used by Microsoft to query is a user exists in Workbench before they send a user creation request.
The mapping of a field to send as userName is extra important if planning to use Workbench OAuth2 login with Microsoft. The value of the field mapped to userName needs to match the value sent by Microsoft during OAuth2 login flow, in the field “preferred_username” of the token claims: ID token claims
Define Entra custom roles that can be matched to FossID Workbench roles.
In Workbench there are 3 predefined roles, and custom roles can be created.
In order to also assign a role to a User when the User is created with SCIM, the SCIM source must send the role with the exact matching name to the Workbench role.
From Azure portal -> Microsoft Entra ID -> Applications > App registrations -> select the provisioning application -> App roles -> Add role.
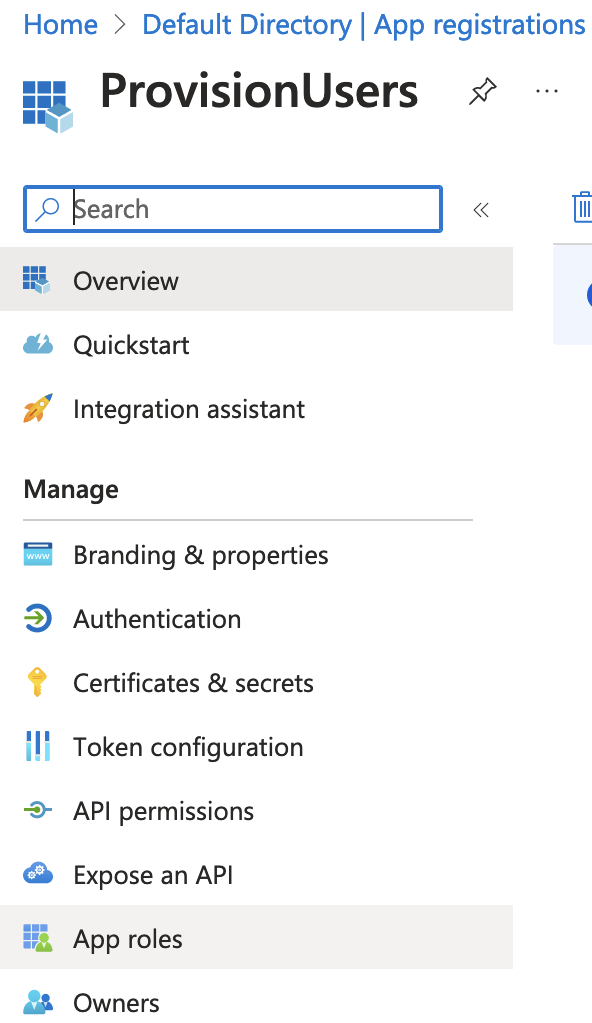
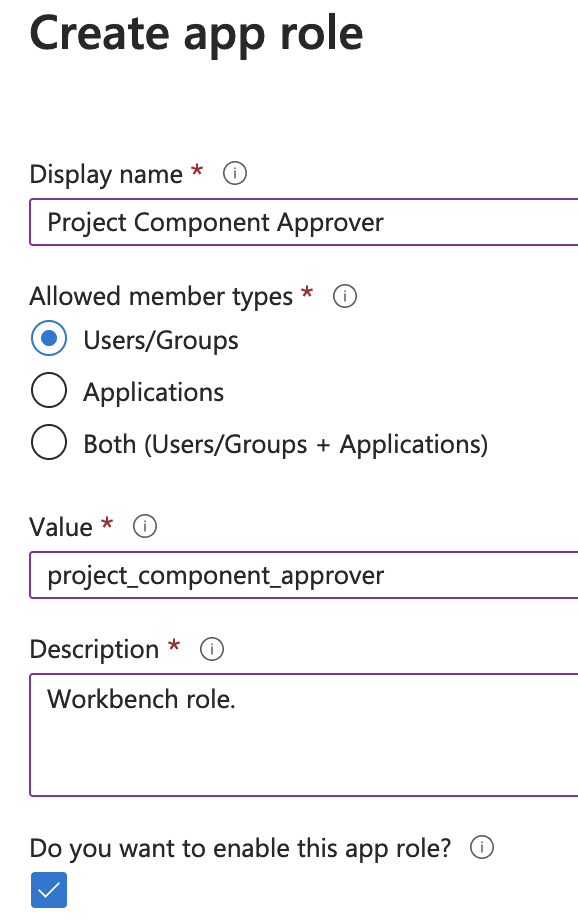
Then create the app role:
Create and assign Microsoft Entra ID users/groups to use for provisioning
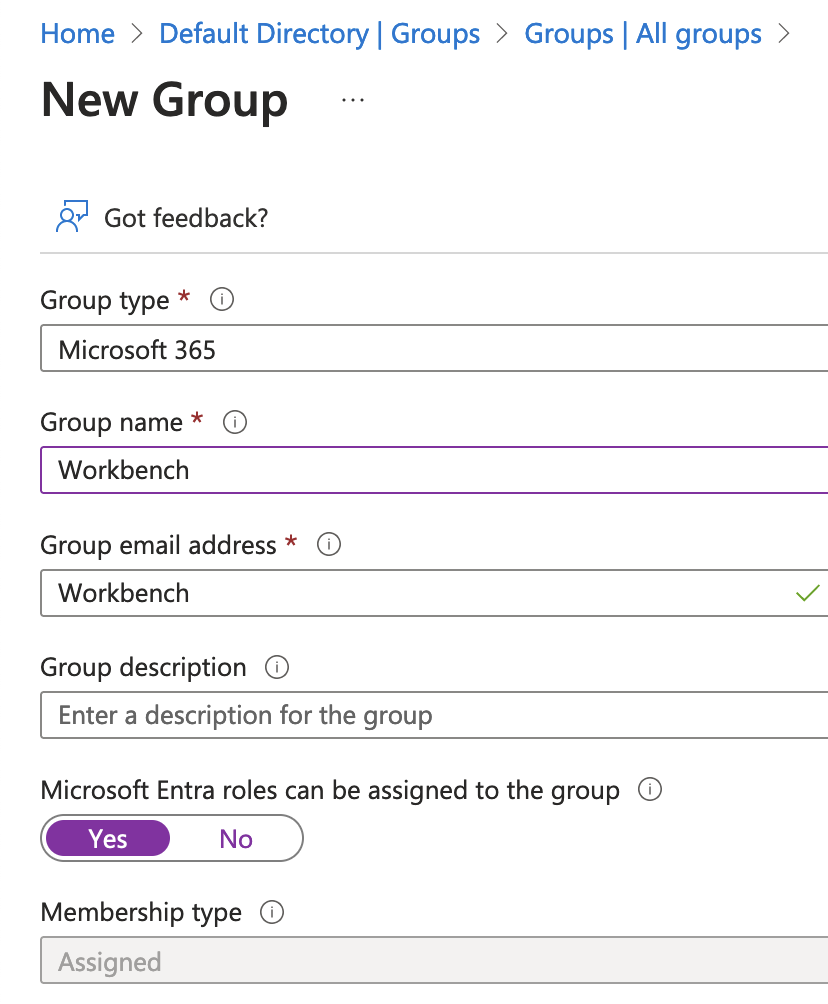
To create users/groups: From Azure portal -> Microsoft Entra ID -> Users/Groups -> New user/New group.
For groups, select “Microsoft Entra roles can be assigned to the group”. Populate the group with users, then save it.
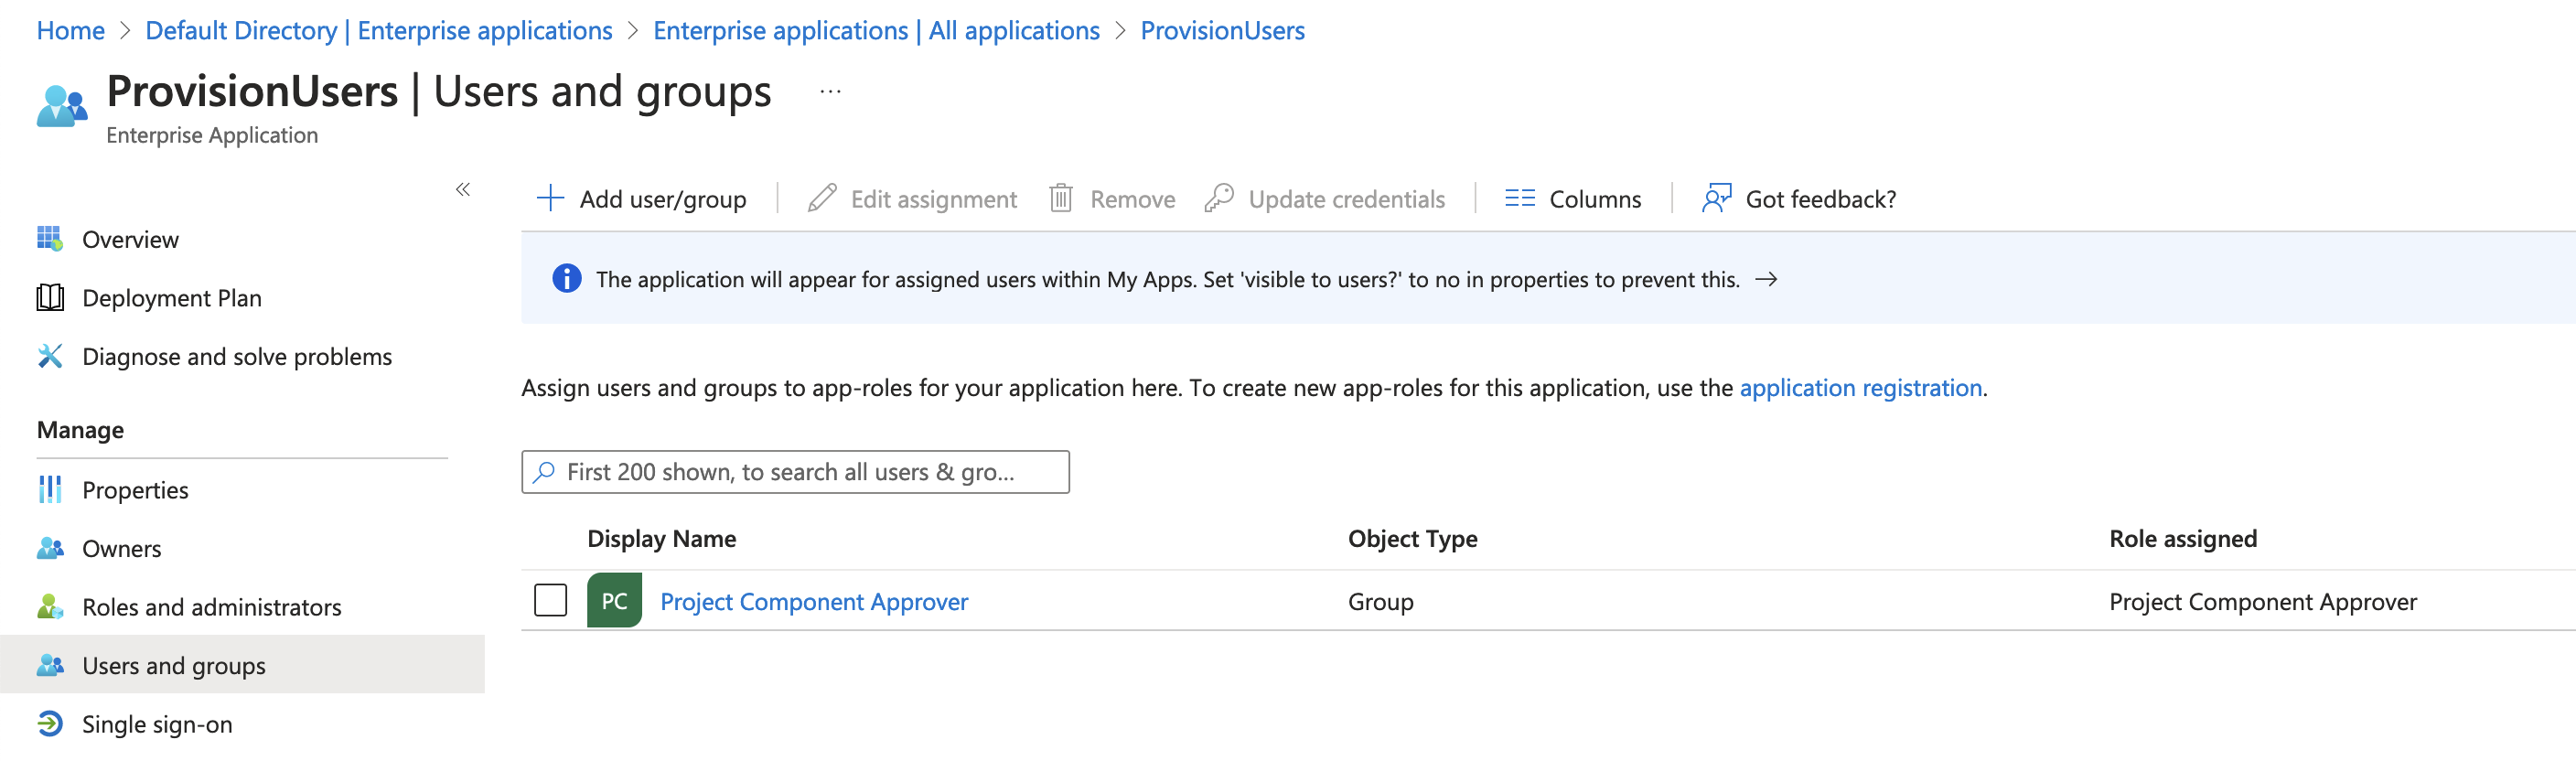
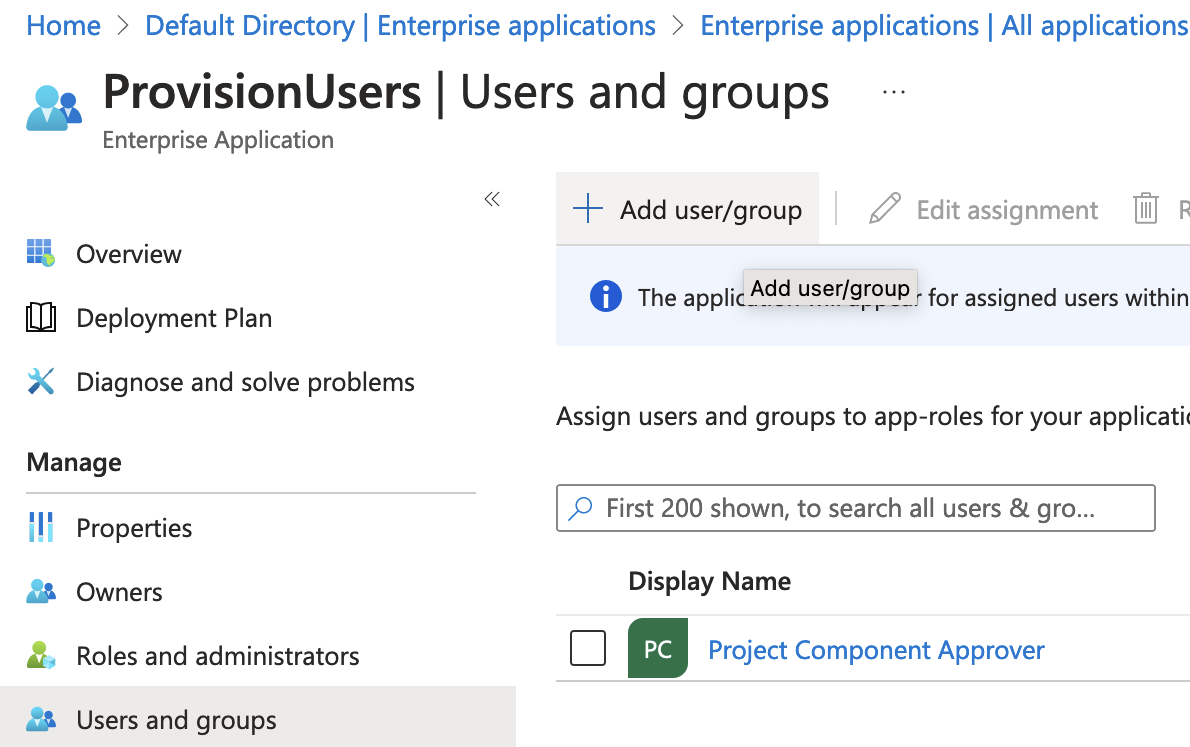
Assign the users/groups to the application from the application’s page Microsoft Entra ID -> Enterprise applications -> Select the provisioning app -> Add users and groups, selecting the desired role when adding the users/groups.
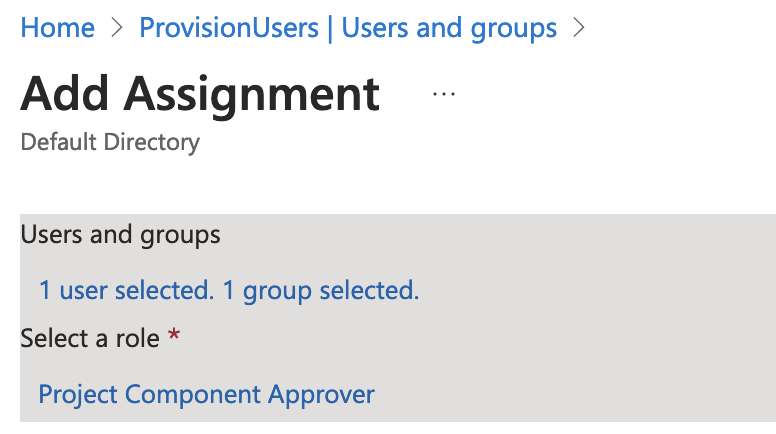
Example of Group assigned to the application with a role matching a FossID role: