
Introduction to ID Assist
ID Assist is an integral component and a powerful ally in the FossID Workbench, designed to streamline the identification process of unmanaged open source software, reducing the need for manual review.
By integrating FossID’s extensive audit expertise directly into Workbench, ID Assist acts as an intelligent assistant that seamlessly navigates through scan results to filter, rank, and prioritize findings. This functionality not only minimizes the need for manual review but also leverages sophisticated algorithms to ensure that only the most relevant and critical data is presented. This leads to improved accuracy, less time spent on false positives, and a more streamlined workflow that allows users to focus on the most crucial security and license compliance issues.
Enabled by default to offer optimal support from the outset, ID Assist can also be customized or disabled according to your project needs. Moreover, FossID is committed to continuous innovation; ID Assist will evolve, bringing newer and better features that will further enhance your experience with FossID Workbench, making it not just a tool, but a trusted partner in your software development lifecycle.
Configuring or disabling ID Assist
ID Assist is activated by default to offer you the best possible analysis right from the start.
However, you can tailor its behavior according to your specific needs through the following options:
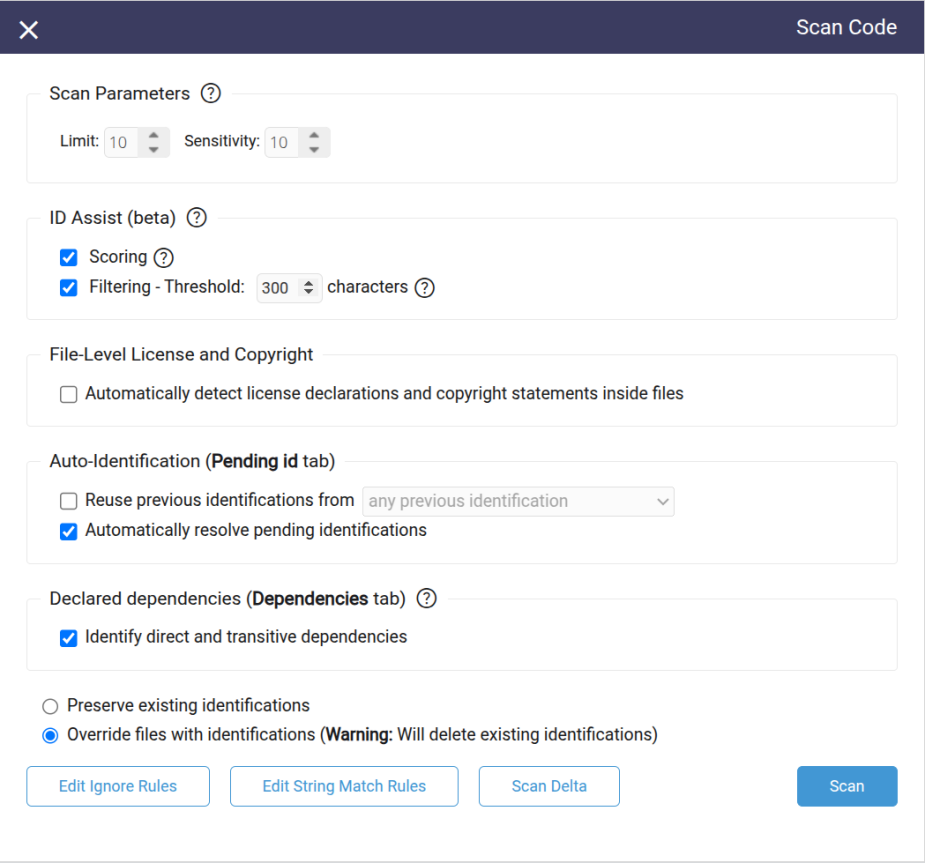
- Scoring
- Description: Ranks and prioritizes findings based on the sophisticated ID Assist scoring algorithm.
- How to Configure: Navigate to the Scan Code dialogue and locate the ‘ID Assist’ section and find the checkbox labeled ‘Scoring’. This option is checked by default. Uncheck it if you wish to disable this feature.
- Filtering
- Description: Sifts through scan results using language-specific classification algorithms to report only pertinent findings.
- How to Configure: Navigate to the Scan Code dialogue and locate the ‘ID Assist’ section and find the checkbox labeled ‘Filtering’. It includes a threshold field pre-set at 300 characters. Adjust this number if needed. Toggle the checkbox to enable or disable this filtering.